
I tackled a new project this week… painting the inside window trim of our family room windows!
The backstory is that we originally had blinds covering our four windows in the family room, which looked out to the backyard. When we added a roof over our deck, we decided to take the blinds down. The sun no longer came in harshly in the late afternoon, and no one lives behind us that could see in.
Stephen took the blinds down and caulked and sanded the drill holes. My one and only job was to paint over the caulk residue with white trim paint. Guess how long that took me? MONTHS!!
Sometimes I take the motto, “Go big or go home!” and run with it. I figured if I was going to have to get in my paint clothes, pull out the paint and brushes and actually get in painting mode, then I might as well do more. Makes sense, right? (Don’t answer that). 😉
The inside trim of our windows was a dark tan. Everything else in our house is white/light gray.


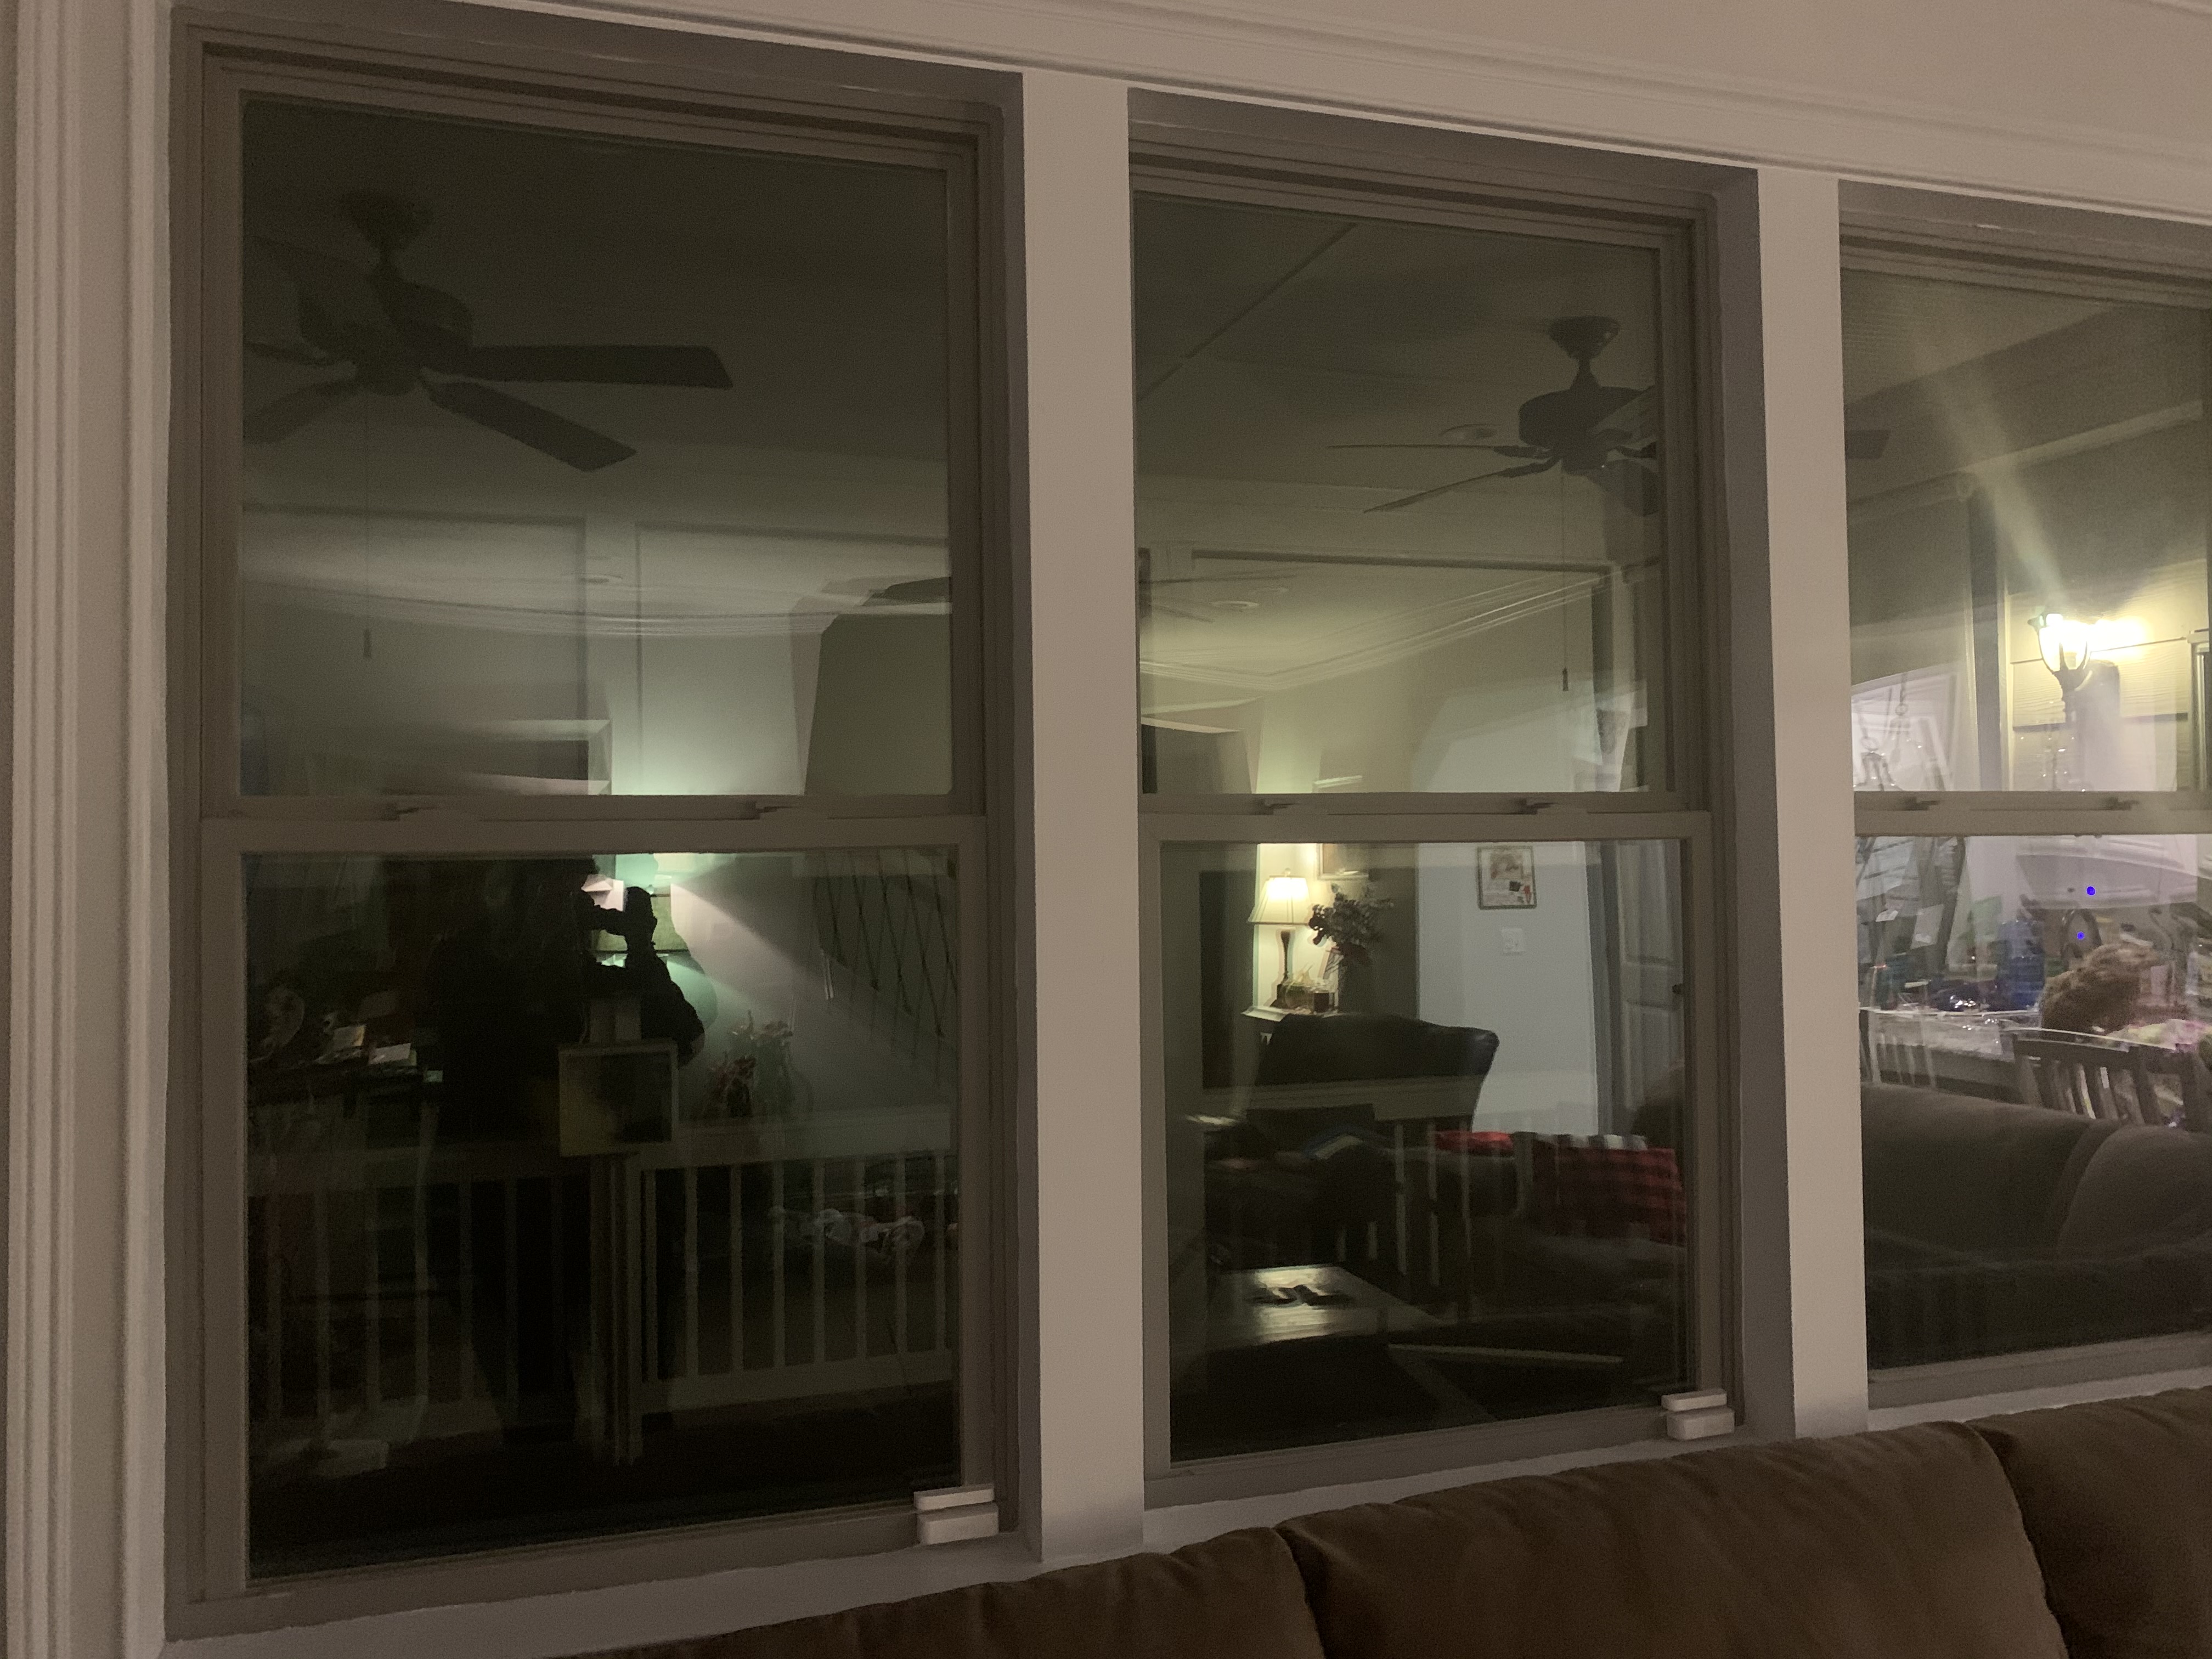
I grabbed some gray chalk paint, painted one of the window’s trim… and instantly regretted it! Not that it looked bad, but I realized that there was no going back… what had I gotten myself into?! It took me a couple of days, and probably a total of 8 hours, to paint one coat, paint a second coat, razor blade the excess paint on the glass, clean up, etc. It’s not a major difference, but I really like the look of it!


I really like how it makes the windows pop more than before! Now, if you want an even cooler look, google “paint window trim black”. Doesn’t that look incredible!? It’s more of a contemporary look, in my opinion, which just didn’t work in my house… but if it would fit your house’s style, go for it!!