
My daughter had asked me if I could make her a laptop stand for her desk. I found some easy plans online and had her help me with it! Go check out these plans from Anika’s DIY life for more details.
I promise- this was the easiest thing to build! Plus, I used nothing but scrap wood, so it was basically free.
First, we used 1×3 pieces and cut them to the length of her actual laptop (plus a couple of inches for extra space). We cut three pieces of 1×3 wood to this length. (Hers was 12″).


We then cut 1×4 wood into two 9 inch lengths. We sanded all of the pieces to make sure they were all smooth.

Then, we started attaching the pieces! We connected one of the 1×4 sides with one of the 1×3 edge pieces. We used wood glue to attach them. We then spaced out the other two 1x3s every 3/4″. (Tip: Use a scrap piece of 1×3 to space out the boards- this scrap wood is actually 3/4″ thick!) We continued this using wood glue and then attached the other 1×4 side.

At this point, we screwed the boards in… the directions actually say to use finishing nails, which I would absolutely do next time. Screws weren’t needed and it made the wood split some!

Once everything was dry, we flipped it over to see how it looked…


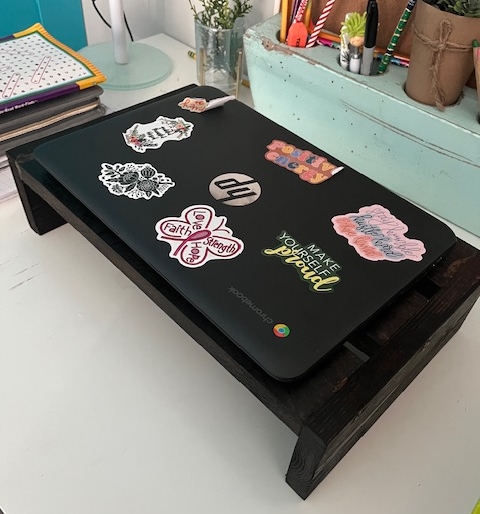
My daughter chose a dark stain to use on it… and here is the final project!


This was a fun little project that got my daughter excited about creating something she could actually use! Hopefully we’ll have more projects together in the future.