
Hammertime is reader-supported. When you buy through links on our blog, we may earn commissions.
Sometimes, I am in a creative mood and want to build something, but I haven’t planned for it/bought a thing. That’s when Stephen’s extra wood pile comes in handy! He has all kinds of types, sizes and widths, and I can usually find what I would need to do a small project.
I had pinned a pin on Pinterest (try saying that 10 times fast!) on making a wooden tray. It looked simple enough and didn’t require much wood, so I thought I could swing it.
Supplies needed were:
-3-4 pieces 1×4 wood, cut to the length you want your tray to be.
-2 pieces of 1×3 wood, cut to the width of the tray
-wood glue
-6 or 8 1-1/4″ wood screws
-2 cabinet pulls
-8 1″ screws (for the cabinet pulls)
-paint/stain (I used Minwax Provincial wood stain)
I cut my 1x4s to 16.5″ in length. I ideally had wanted a bigger tray, but since I was limited to using what I had on hand, I couldn’t be too picky. I only had enough 1x4s for the tray to be 3 pieces wide, which probably went better with the 16″ length (if you wanted to do a longer tray, I’d recommend making it 4 wood pieces wide). I then cut the 1×3 wood to be the length of the width of the tray (across). (FYI: My tray’s measurements ended up being 16.5″ x 10.5″)

I put wood glue on the side of the 1x4s and clamped the pieces together so they would dry nice and firm.

I then added the across pieces and glued them down. This was a very similar process to making the window shutters!


Once this dried, I sanded the edges to make sure they were all flesh with the cross-piece’s edge. I then used 1-1/4″ wood screws and, on the bottom of the tray, I screwed in one screw in each of the wood pieces into the across pieces.

Then, it was time to stain!

After the first coat of stain, I used wood filler to fill a hole that was in one of the pieces of wood. I should’ve done this first, but I forgot about it until I had already started the stain. Whoops!


I filled the hole with wood filler and let it dry.

Yesterday, I went to Hobby Lobby to look for cabinet pulls. Luckily, I hit up a day where all cabinet pulls were 50% off- whoop! I found 2 cabinet pulls for $2.50 each (on sale). I went for 3″ pulls since my tray will be smaller. I think a good look is when your handle takes up about 1/3 of the width of your tray.


Once the wood filler dried, I lightly sanded it and then did another coat of stain on top. (The wood putty soaked in the stain, so I got a small brush and did 2 more coats specifically on that spot until it blended in better). I screwed in the cabinet pulls, measuring them to be in the middle, matching up on each side.


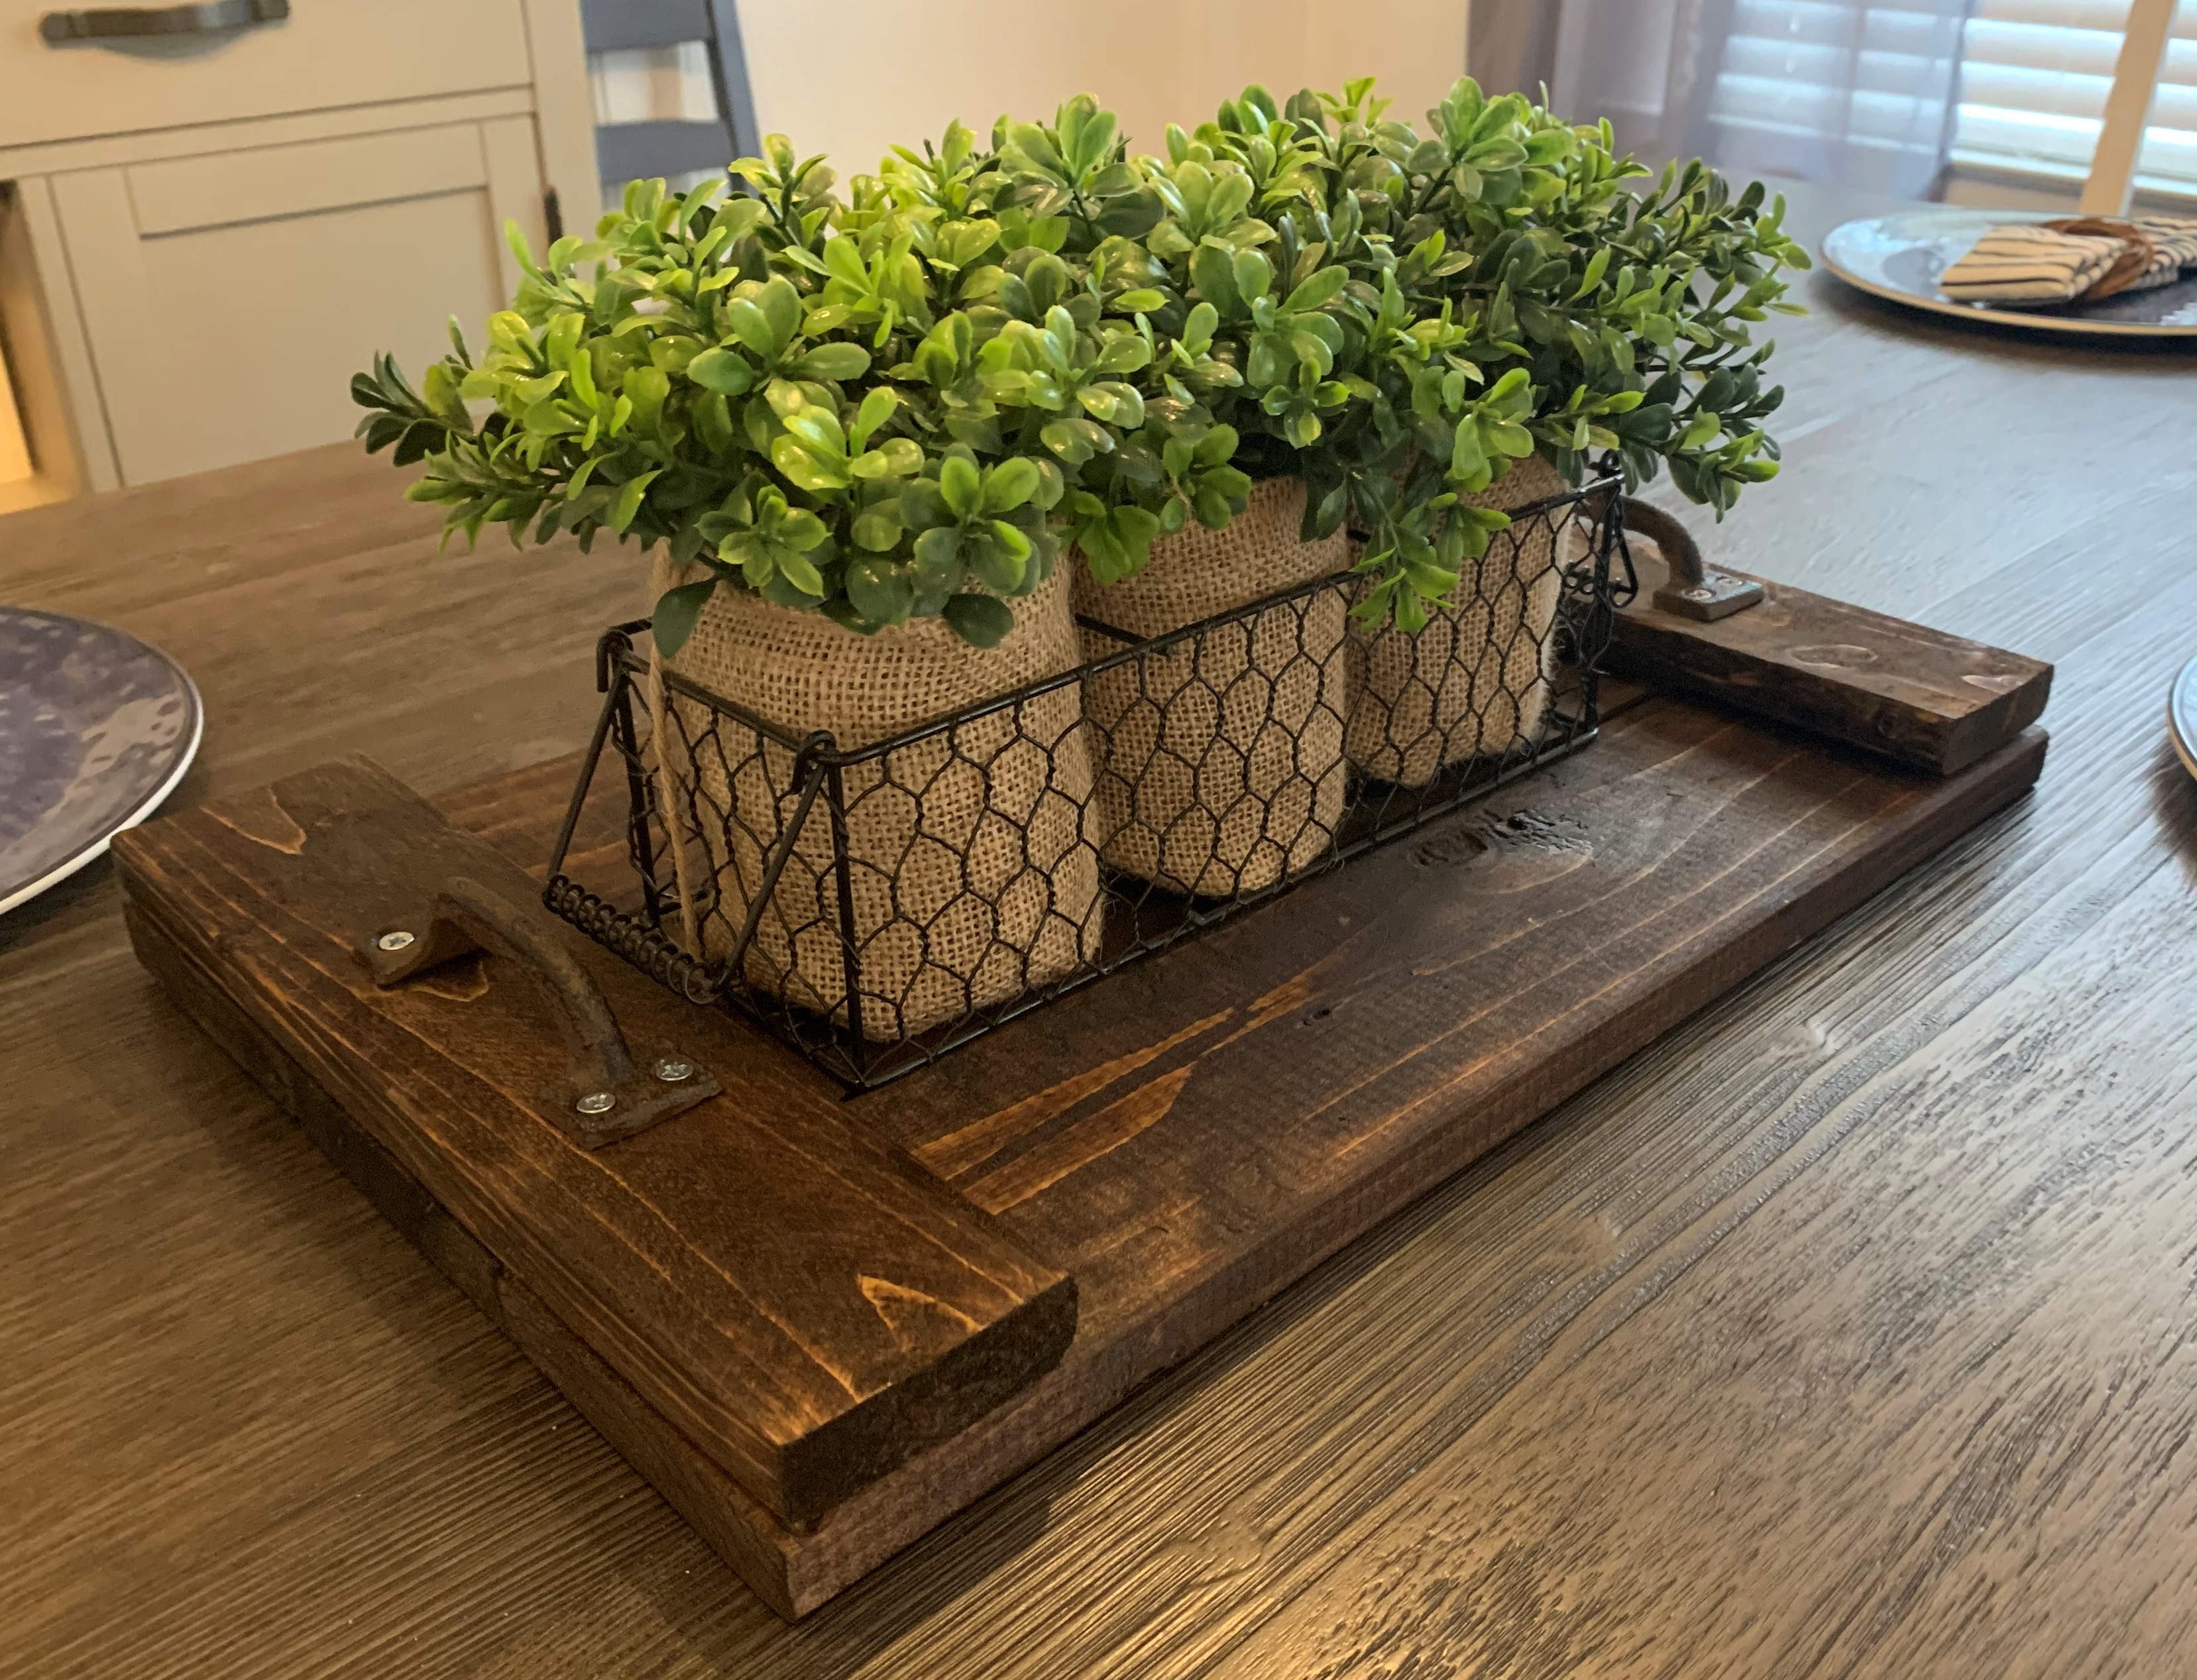
And… voila! The tray is done!


A $5 scrap wood project for me to do, and now I have a really cool centerpiece for my dining room table!