
Hammertime is reader-supported. When you buy through links on our blog, we may earn commissions.
I have finally finished up a project I have been eyeing doing for awhile. I’ve had this farmhouse sign tutorial saved on Pinterest for a few months now. We don’t have a ton of free wall space in our house, but my daughter’s farmhouse room gave me the perfect excuse to make it!
These were the wood lengths that were needed. Luckily, I had all of these available in scrap wood, so no expense there!

I just had to purchase a 2 ft x 4 ft piece of hardboard from Home Depot.

I cut all the wood pieces according to the directions.

The plan for this sign was to have an outer frame and an inner frame. I worked on the outer frame first, using wood glue to connect the corners.

Next, I built the inner frame with the shorter pieces, wood gluing them to the inside of the outer frame.

I used clamps to put pressure on the inner and outer frames to keep them glued together well.

Once the frame was dry, I used screws to secure the wood. I put screws in all the corners where the pieces of wood met.

Then, I painted the frame! This is the same gray “oops paint” color from the window box.

Next, Stephen helped me with cutting the hardboard. The inside of the frame had a ledge where the hardboard would sit, so we measured the hardboard according to the inside frame. There was about a 1″ ledge that the board would rest on, so it was okay if the measurements were a little off (on the smaller side).


I used woodglue to try to get the hardboard to stick to the inside of the inner frame, but the board was a bit warped and wouldn’t rest against the frame. Nothing like using whatever you can around you to weigh it down! 😉 I also used small nails to nail the hardboard in from the back.

I used white chalk paint to paint the hardboard. It took me three coats to get a good solid white color.


I found a good place to hang the sign in my daughter’s room and tested it out to make sure she liked it.

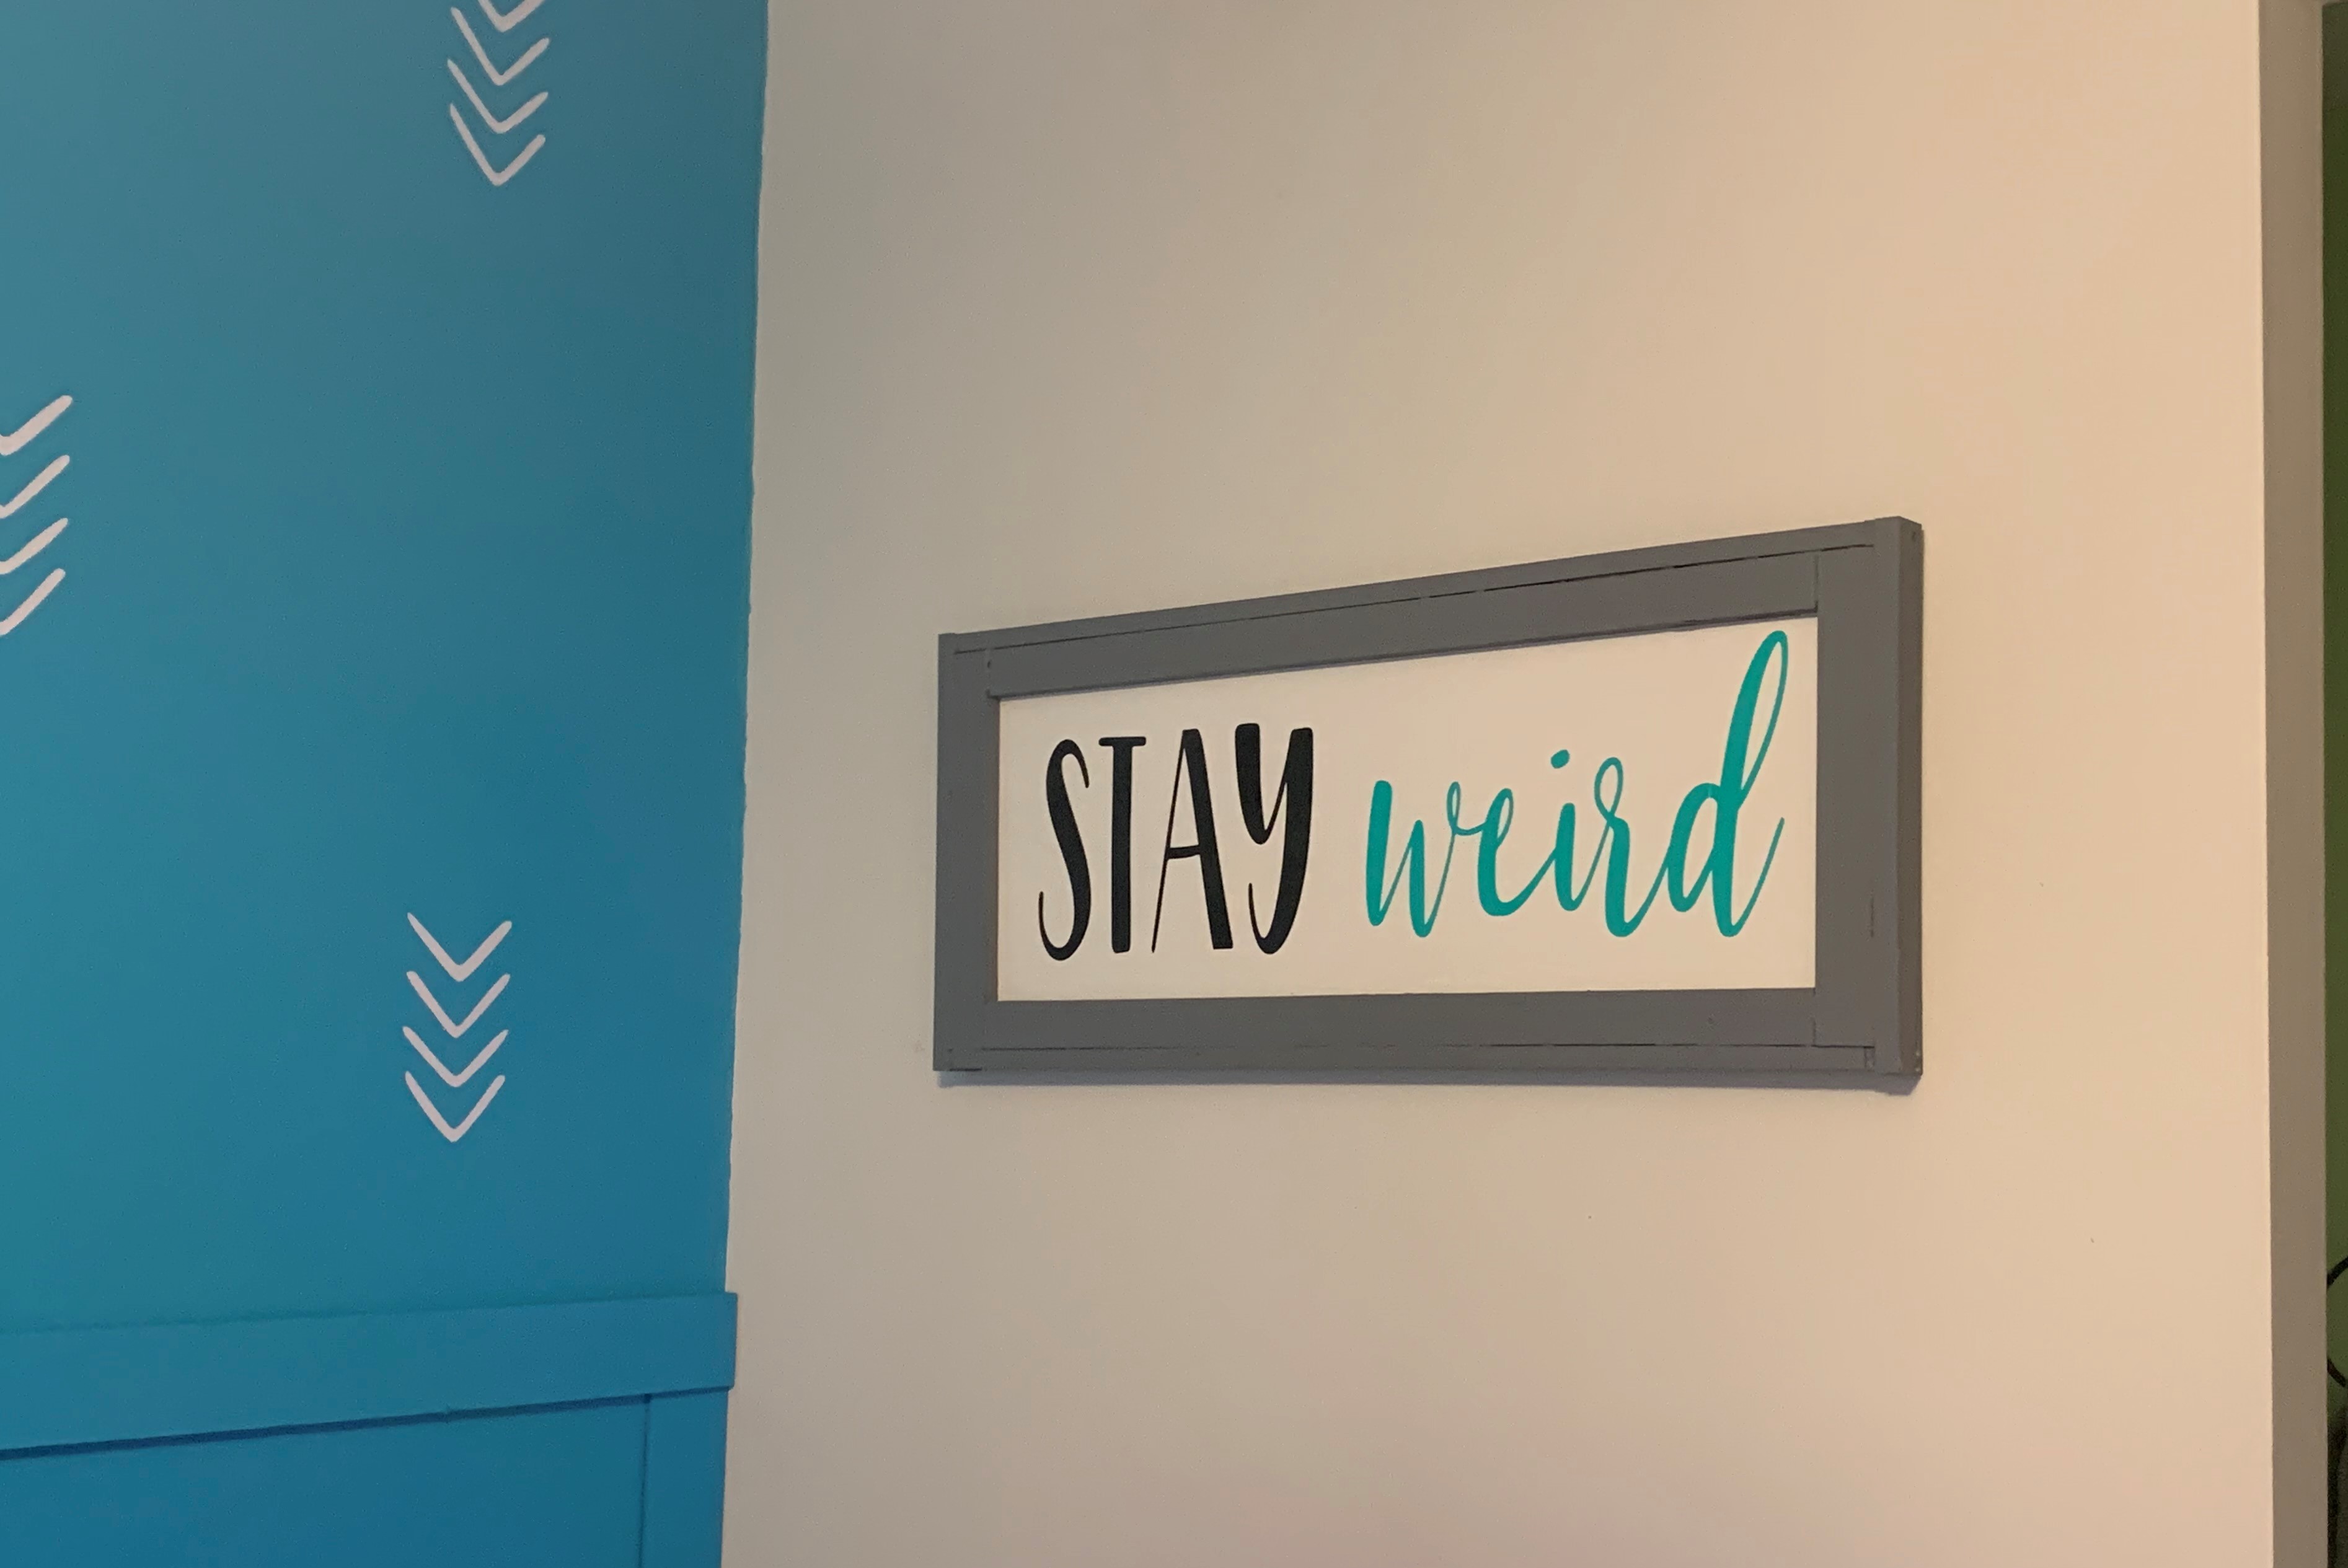
I gave my daughter a few options of what she wanted me to put on the sign using my Cricut machine. She picked one that is perfectly her.


And now, the finished product!

There you have it! This large, 3 foot x 1.5 foot sign only cost me $3.12 out of pocket… everything I had on hand except for the hardboard. The great thing, too, is that I still have plenty of hardboard left… enough to make a couple more signs! (Which I’m sure I’ll be writing about in the near future)
Check out Antique Farm House for great farmhouse decor.
