
Hammertime is reader-supported. When you buy through links on our blog, we may earn commissions.
I found a CUTE idea on Pinterest several months ago that I saved for me to remember to do in the future. Here was my inspiration:

The problem was… it was just a picture! No directions, tips, etc. So I took this idea and ran with it.
Our house has the basic plastic valances to go over the top of our blinds, and I really don’t like them. If you remove the blinds, you can remove the plastic piece and just have the trim around the window. However, since this window is in our bathroom, we wanted to keep the blinds on, so the plastic piece had to stay. That is… until I saw this idea! 😉

For this project, the only things I bought were one 1×10 board and two sheer white curtain panels. I bought mine here from Amazon- I got them for $5.39 each! Besides that, I used 2.5″ screws and 2″ screws that we had on-hand. I stained the wood brown using Minwax Provincial. I cut the board to the length of the window + the trim on either side (54.5″).

I pulled the plastic piece off the top of the blinds, and noticed that the blinds top stuck out from the trim about 1/2″. I was originally just going to drill straight into the trim, but the blinds caused too much of a gap between the wooden valance and where the trim was.


To hopefully solve this issue, I used scrap pieces of 1×4 and wood-glued them onto the back side of the board on either end. This would allow the valance to rest on the white trim on the ends (so we could drill into the trim) and to also sit up off the trim for the rest of the board about 3/4″ (to go over the blinds that stuck out).


Before we installed the board, I was searching on Amazon for black hooks for the curtains. I really wanted to go ahead and finish this project (and not wait the two days 😉 ), so I came up with another idea… using black screws! I figured they wouldn’t be that noticeable once the curtains were up. I screwed in 7 black screws every 8-9″. (Tip: I used 7 because the curtains I had purchased had 7 loops to hang on).

I was really hoping my plan with the scrap wood behind the board would work… and was so happy when it worked like a charm! We used the level to make sure the board was level, and we used the 2.5″ screws and screwed the board directly into the trim. We used 6 total- 2 on either end, and two along the middle.


Next, I pulled the curtain panels out of their packaging, and used my go-to steamer to straighten them out.


I started with one panel, and hooked the loops over each screw.


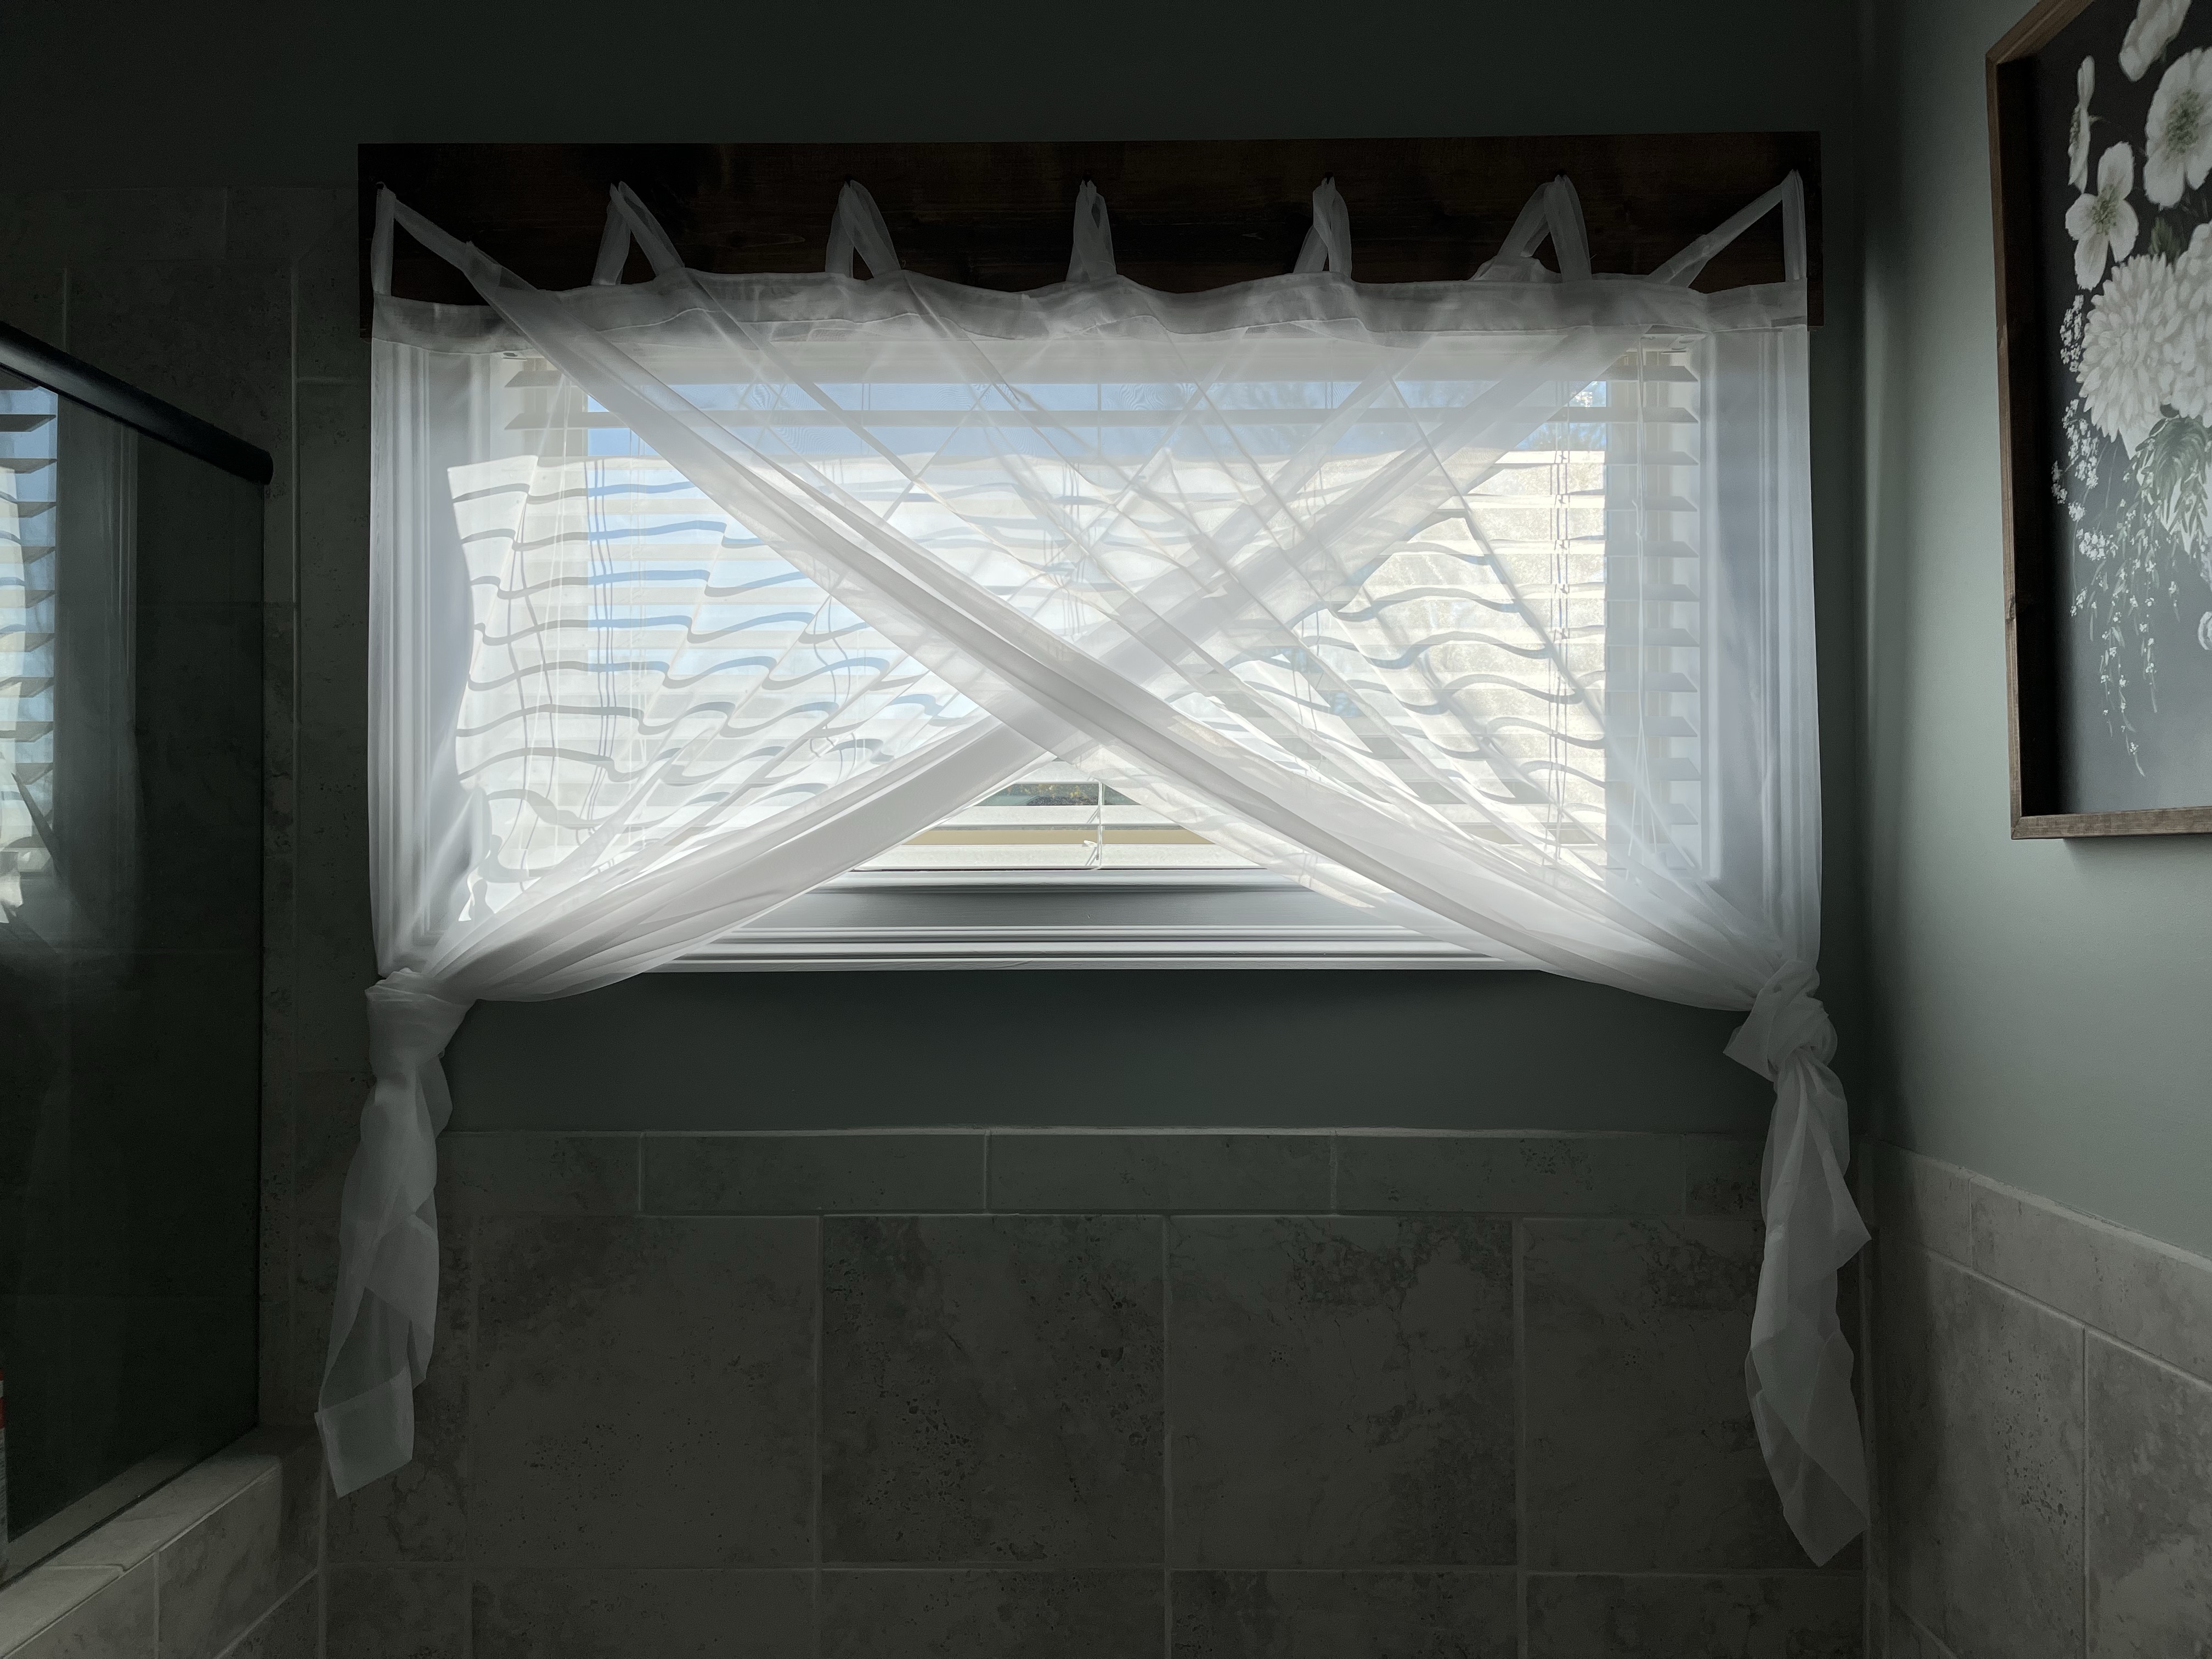
I pulled the panel to one side and knotted it.

I repeated the same for the other panel, but pulled it the other direction and tied a knot.

I used a black and brown sharpie mix to color over the 6 screws we used to hold them up, which made them less noticeable.

That was it! I’m loving this easy update. In total, the board was about $6, the 2 panels were about $11, and everything else we had at home.
