
Hammertime is reader-supported. When you buy through links on our blog, we may earn commissions.
Stephen recently built us two side tables for our newly-covered back deck. We ordered a couch and some chairs, but held off on buying side tables (he knew he wanted to try to make them!). They were super easy!
We went to our trusted Ana White site and found free side table plans. The plans were actually for an “Adirondack” side table or stool, but Stephen switched the plans up a bit at the end that kind of took the “Adirondack” out of our table. 😉

Stephen got the wood he needed and followed these directions.


At this point, all that was left was making the top. The top, to me, is why this is called “Adirondack”, with the separate slats of wood across the top. However, our friend gave us a really cool piece of wood from out west that he had extra, laying around. Stephen ended up cutting that wood to use as the tops of both tables, so our tables had a solid top to them!
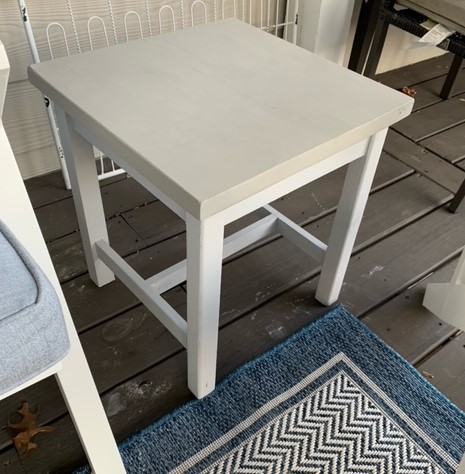
Instead of staining the wood, I chalk-painted these two with gray paint.


Two super quick and easy (and cheap!) side tables for the win!