
If you recall, my brother and I did a TON of work this past summer on our mountain cabin. One thing I tried to do in July, but failed miserably, was paint the floors. Between the humidity and not having enough time to let the paint set, the paint peeled right up.
My mom and I went back up in November to close up the cabin for the year. It was the perfect opportunity for me to finish the floor painting. The weather was much cooler, the humidity was much lower, and we could paint ourselves out the door on our way out and let it set… for months!
I’ll give you some tips that I would recommend if you’re in the same boat, but first… check out pictures!
Before:


We chose Valspar’s Delta Sandbar for the paint color.

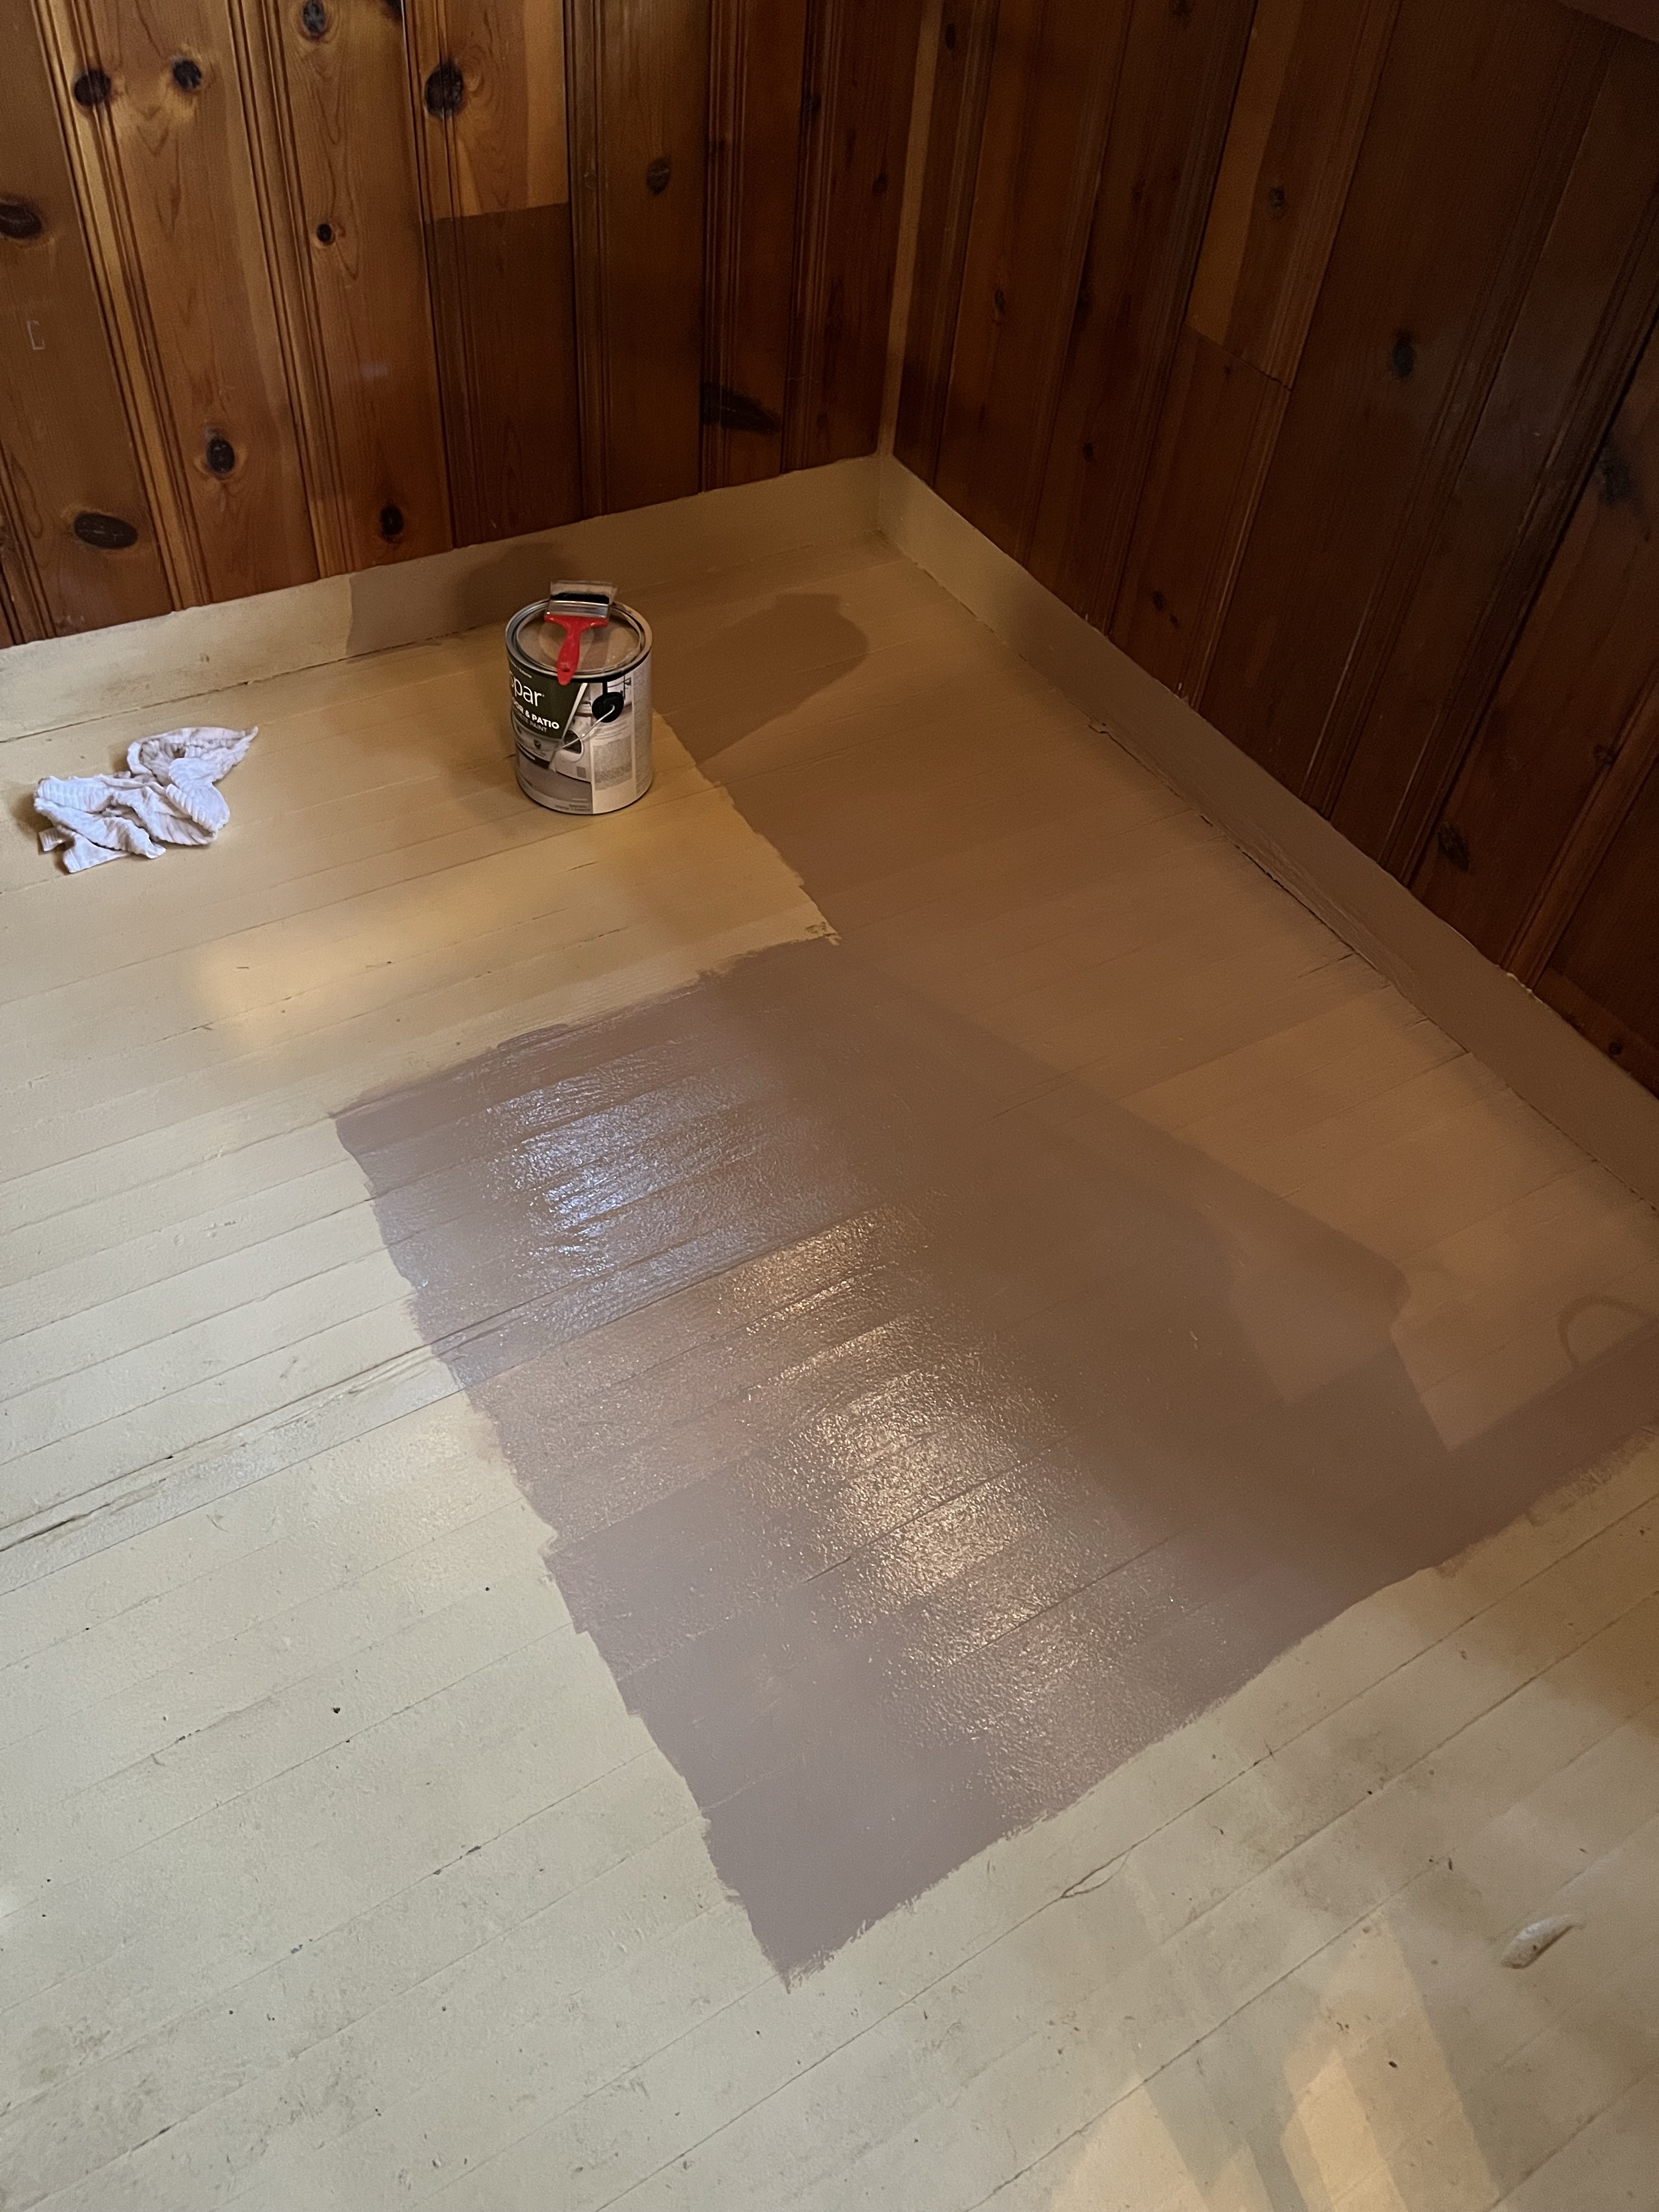
During:
Prepping is key. Vacuuming and mopping the floors ahead of time was vital!


Once the floors were clean and dry, I started to paint. I decided to hand brush (it’s just my preference) but you can easily use a roller!


Once the paint dried for several hours, I did a second coat. This is where you have to be smart… you really need to paint yourself “out” of the room (or in our case, cabin) you are painting. More on that in a bit.
The finale:


Ok, here are some beginner’s tips that I learned along the way.
1. PREP. I mentioned this before but will say it again. Vacuum, mop, sweep, hand wipe- whatever you prefer- just make sure you clean the floors!
2. Be smart about the order in which you paint. If you’re painting a single room, you’ll have to think through what furniture to move to paint under, and where and when. You’ll want to leave a walkway that you can paint last so you’ll have a place to walk in the room without stepping on the paint.
If you’re painting multiple rooms (like we were), not only do you have to think about the furniture situation, but you’ll need to think about which room you should do first. Ideally, you’ll save the room with an outside exit for last- that way, you can walk out the door and let it dry.

3. Speaking of letting it dry, ideally you would allow the paint to dry for a minimum of 24 hours before walking on it. Now, I didn’t have the time to let the first coat sit that long, so I gave it 5-6 hours to dry before doing the second coat. The second coat, I was able to paint myself out the door and then leave, so this floor will end up getting a few months of no one walking on it! 🤣
4. Speaking of coats… you will need two. It’s your preference if you want to put polyurethane over the floor paint. We used Valspar’s Floor and Patio latex paint, which included a polyurethane-fortified enamel, so we did not have to use poly.
5. We were painting over floors that were real hardwoods but had been painted previously. If you’re painting hardwoods for the first time, or painting over engineered hardwood, please research any extra prepping steps you might need to take.
Painting floors is definitely a tough task. It requires patience and time, and an empty house is super helpful. However, the end product is great! Hopefully these tips will help you if you’re thinking of painting your floor!