
I tried a fun activity out the other day. I had found a pair of jeans at Goodwill for 99 cents, and they were a little big. I decided to experiment and see if I could practice distressing my own jeans!
I did a lot of research, and everyone’s version of “distressed” is definitely different. As a 42 year-old teacher, I didn’t want my jeans to be too distressed- I wanted them to be milder.
Check out what I did!
These are the jeans… they are Ann Taylor straight jeans.


I measured up 1.5 inches from the bottom of the jeans and made a mark.

I drew a line across at the 1.5″ mark in pencil.

I cut across the line.


To make sure they were even, I lined up the legs and made the cut using the other leg’s length.


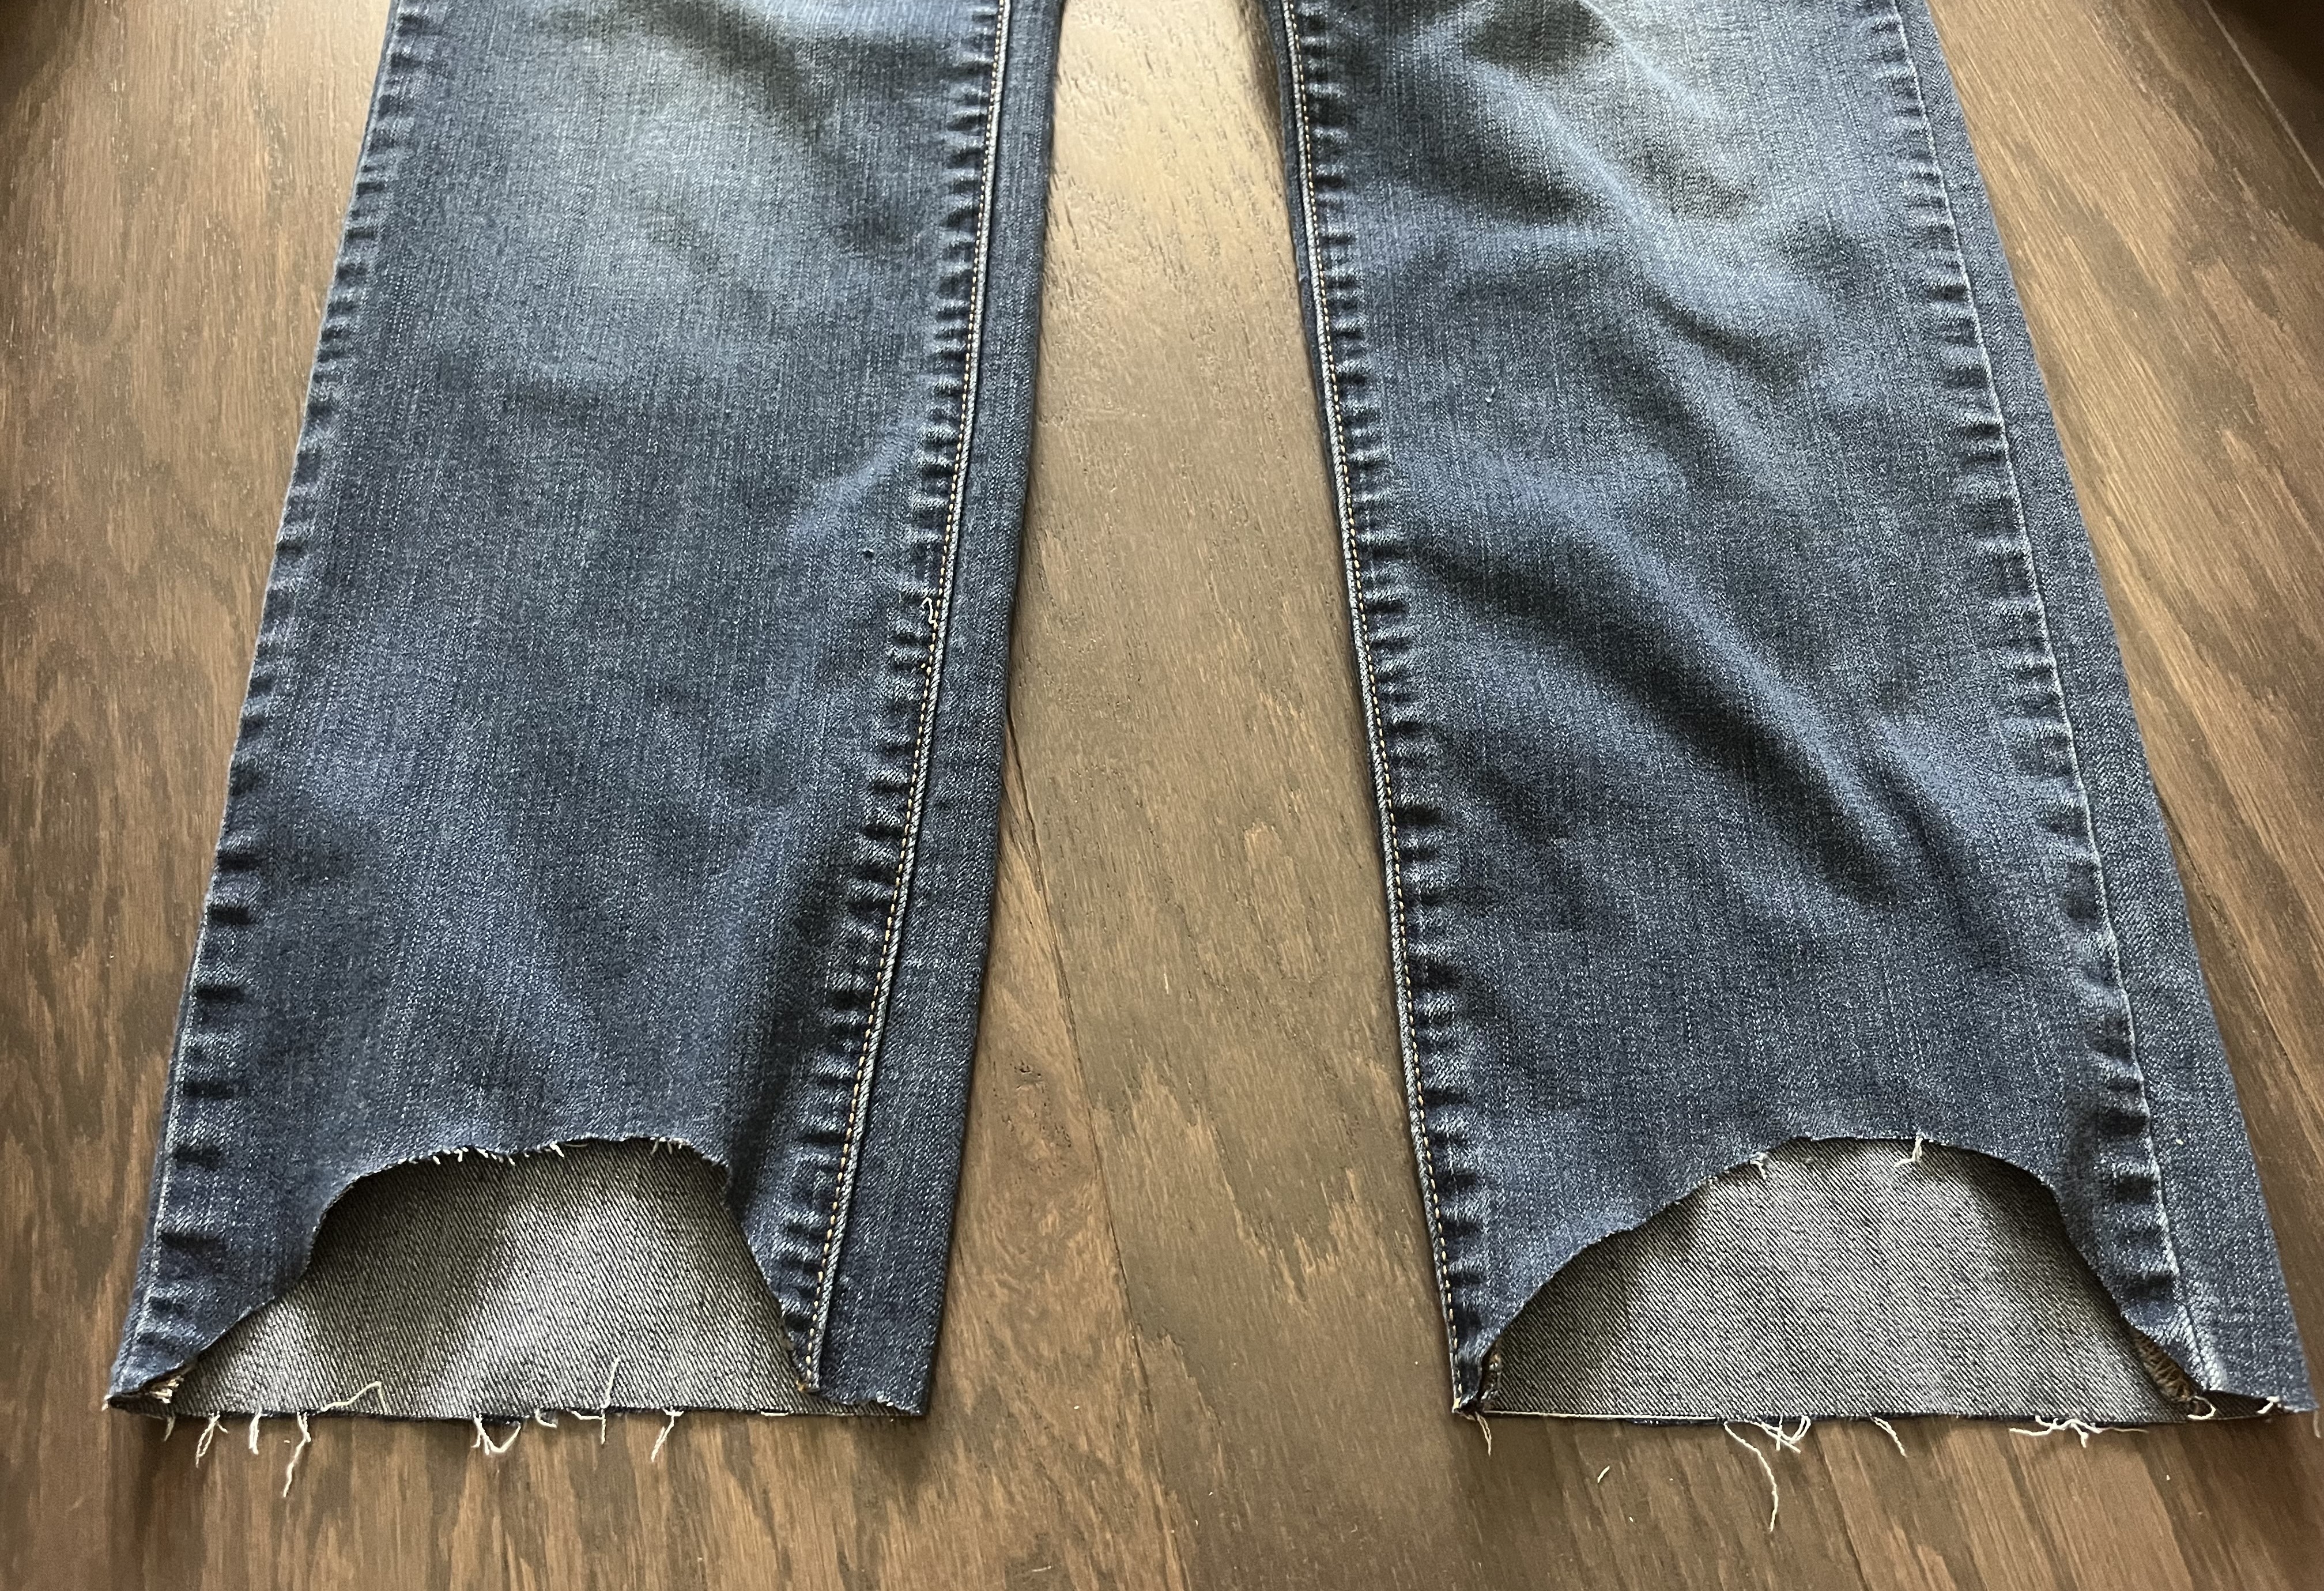
I cut an arch from the base of the seams up 2.5″ and then back down.

I traced the cut-out from the one side to cut the same pattern on the other side.

I made the cuts!

I pulled as many strands off of the edges that I could.

Using eyebrow razors, I made little holes and scuff marks around the ends of the jeans.


You can go as crazy as you want! Make sure, once you’re done, wash and dry the jeans. The more you wash and dry them, the more fringe will show up!