
My son was running out of room on his current trophy shelf, so I decided to make him a new one. We have SO much scrap wood in our workshop that I was determined to make the shelf from our stash.
What I wanted:
-1×8 board (22 inches)
-1×6 board (22 inches)
-two shorter 45 degree cut pieces of wood
For the first time, our scrap wood stash failed me! I could not find a 22” 1×8 piece of wood. We did have two 14” pieces of 1×10, so I went with that, even though it was a little bigger than I had wanted.
Here’s what I did:
-I cut the 1×10 and 1×6 pieces of wood to be 22 inches in length. Since the 1×10 pieces were 14” in length, I cut one to be 8”.


-I wood-glued the two 1×10 pieces together, clamping them until they dried. Together, they measured 22″.


-I then wood-glued the two pieces (1×6 and 1×10) together in an L-shape. I clamped them together until the glue dried.

-I found a piece of trim to put on the front of the shelf, to hide the roughness of the board. I used wood glue to put it on and I clamped it until it dried.


-next, the harder part. To add additional support to the shelf, I cut some 1×3 pieces of wood to have 45 degree cuts on either end. I wood glued them in place, between the two pieces of wood.


-I used wood screws and screwed everything together that was wood-glued, just to make sure the shelf was as strong as possible.
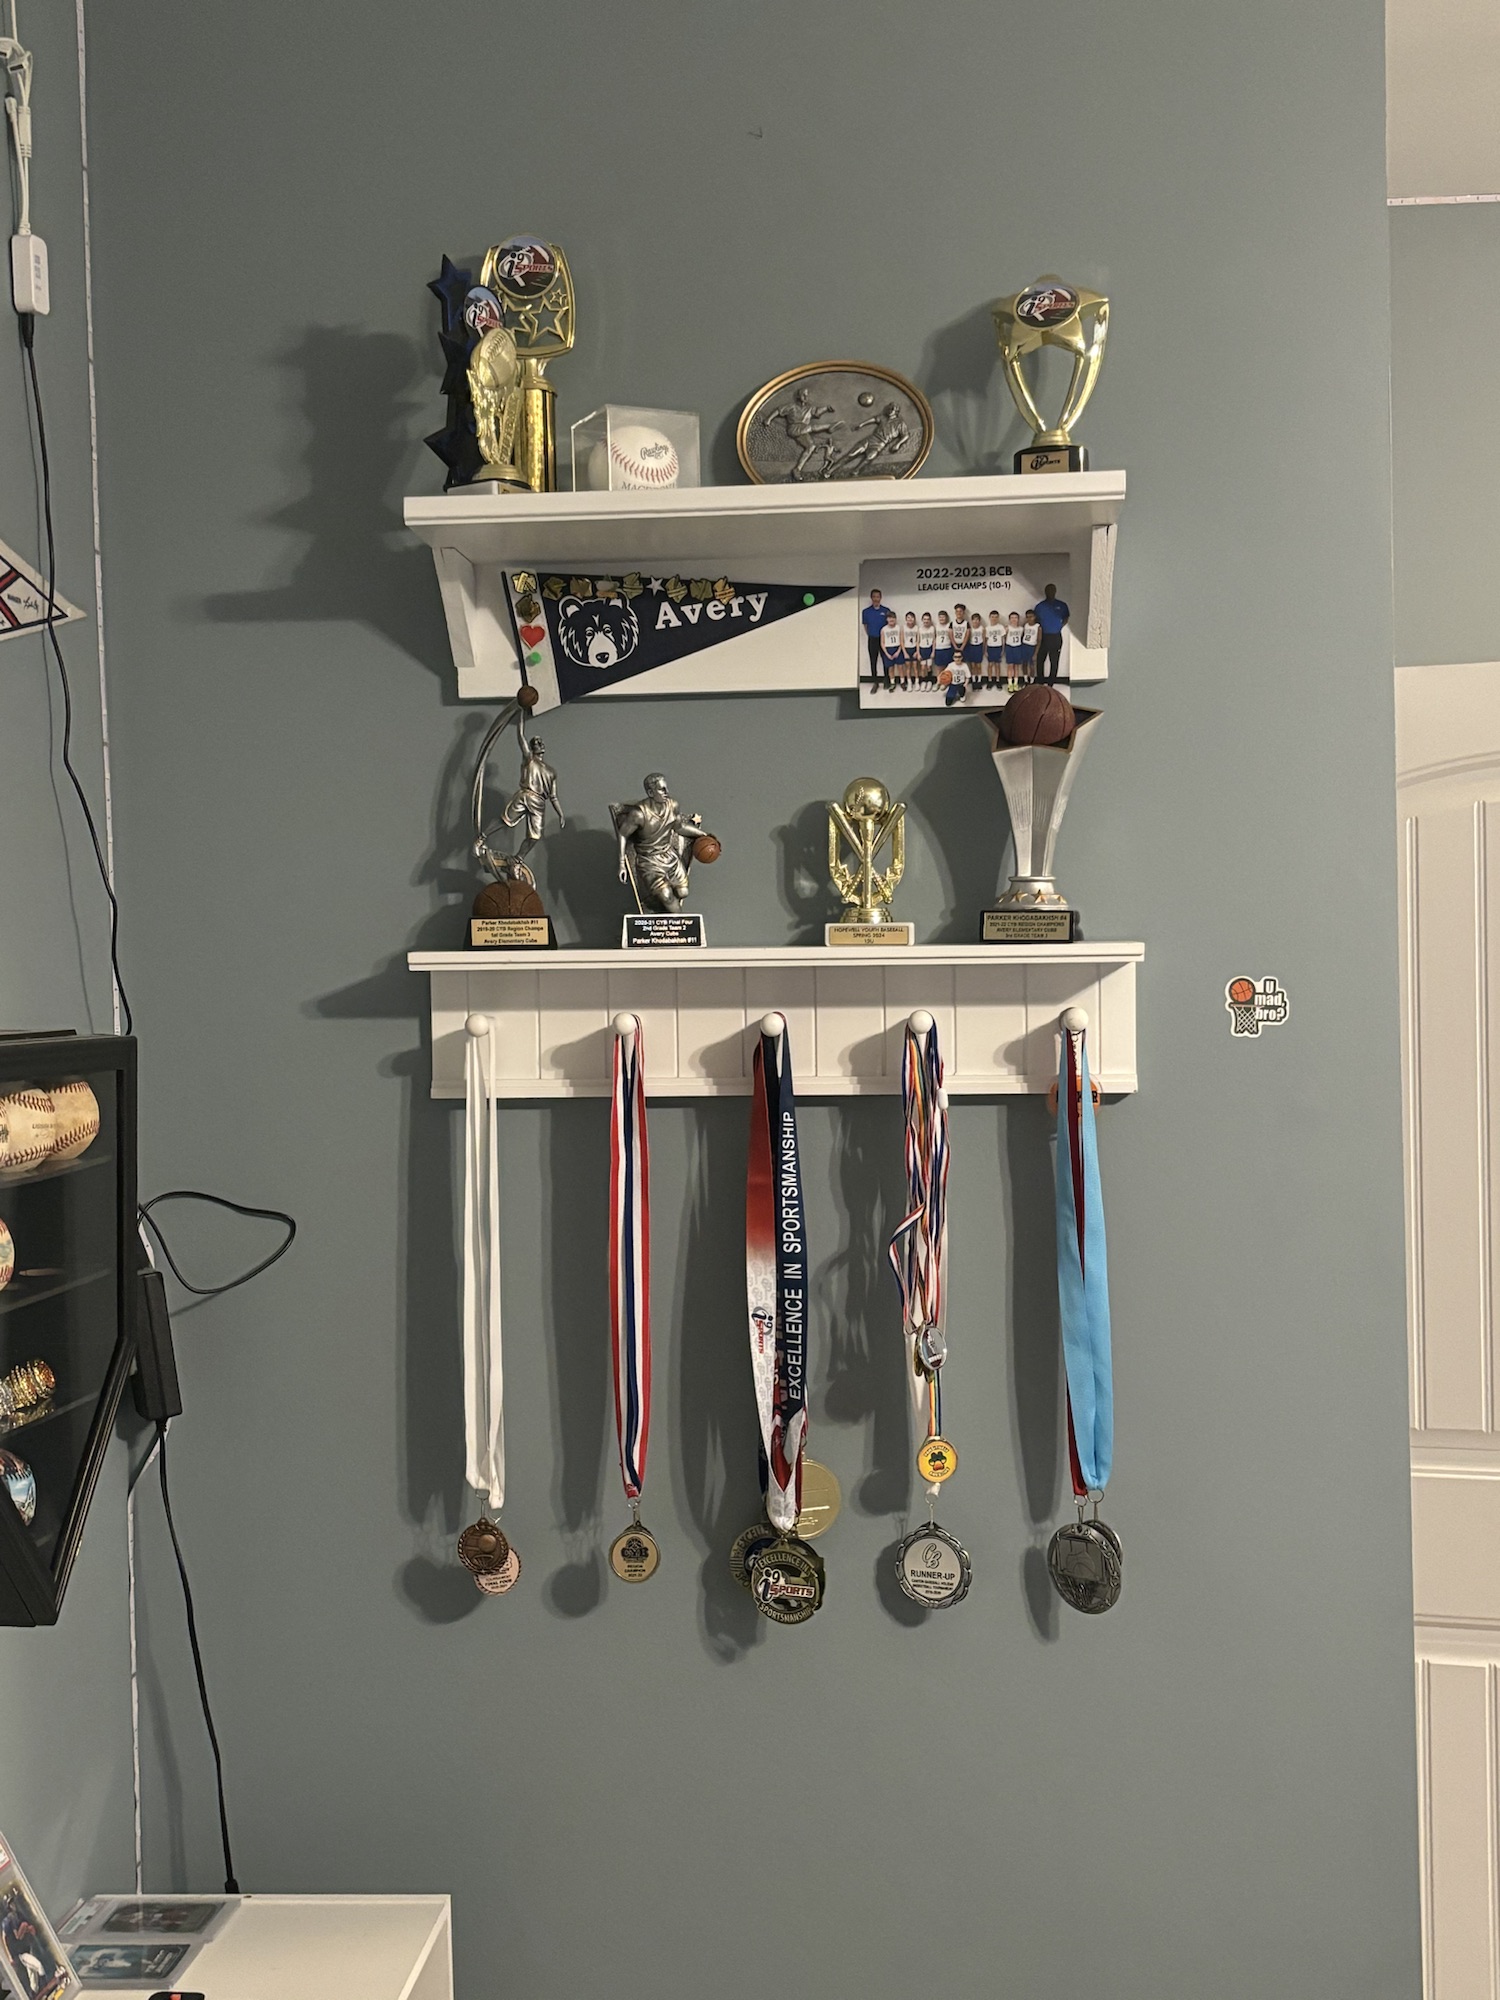
-I painted the shelf white. We hung it above my son’s current shelf.
Check it out!

Not too shabby for completely winging it!