
Hammertime Blog is reader-supported. We may earn commission from affiliate links. Thanks for your support!
I’m a teacher, and I recently finished up my school year. What did I do first? Yep, a DIY project!
We have a small blank wall in our guest bathroom that I was thinking about doing board and batten on. I really like the “modern” board and batten look… thinner battens that are doubled up. I decided to go for it on this wall.
Supplies I got:
-I went to Home Depot and purchased three pieces of 3/4” wide trim in 8 foot lengths.

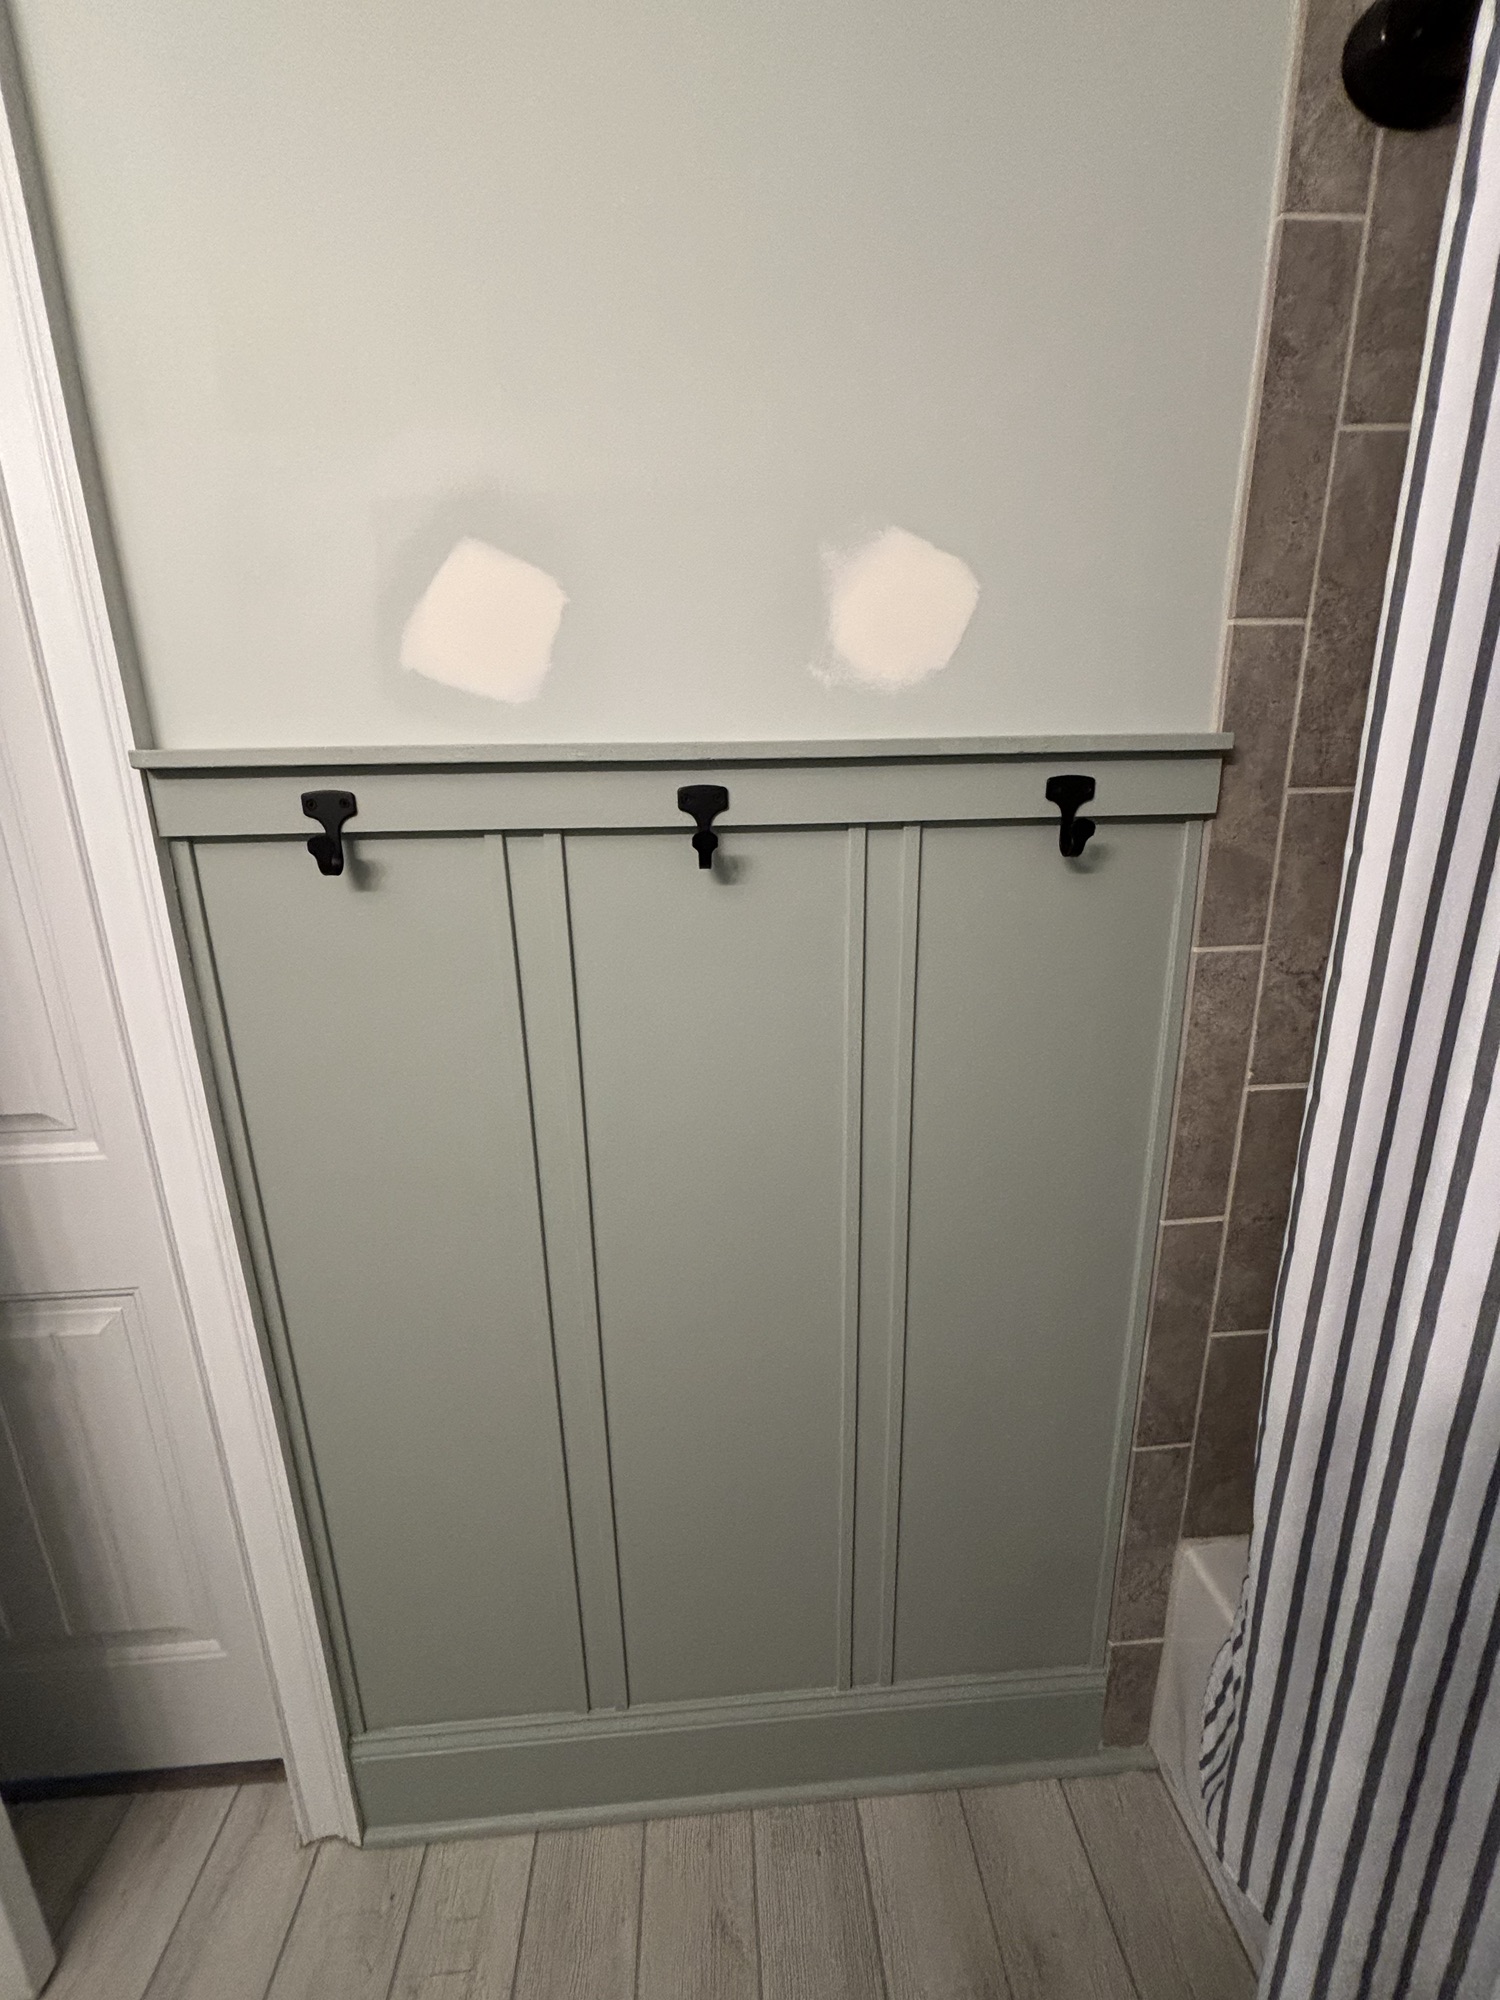
-I also purchased three black hooks (you’ll see those later).
-I had some scrap wood that I used for the horizontal boards. (1×3 and 1×2 boards)

-nail gun with 2” nails and 1.25” nails
What I did:
I wanted a 4 foot height for the board & batten area, so I cut the three 8′ trim boards in half. (I had to be careful, because one wasn’t perfectly 8 feet, so I had to adjust it). This gave me 6 total pieces of trim.

I cut the horizontal scrap wood (1×3) to the width of the wall, which was about 42 inches. Stephen held it up as we made sure it was level. I put liquid nails on and also nail-gunned these into studs at a height of 4 feet above our baseboards.
*we took down a shelf above this area, which is why you see those holes above the board.


For the trim pieces, I started with the edges of this section of wall. I put liquid nails on the thin trim piece, and put them vertically on the sides. I then used 1.25” nails to provide extra support.

Note: Our house is not straight (!!) so even though the 4 foot pieces all matched, I had to trim off a little bit on the ends of the pieces as I went further to the right.
Math time! Finding the perfect measurements for the middle boards is always the hardest part. I measured the distance between the two edge pieces (in this case, it was 40 inches). The boards were 3/4” wide, and I would put two together with a gap between them. I estimated one set of two boards with the gap would be 3 inches in total, and there would be two of these. That is 6 inches of wall space that would be taken up. So, I subtracted 40-6 to get 34 inches of extra wall space. Knowing there would be three wall “gaps” between boards, I divided 34 by three to get 11-5/16″.
I measured 11-5/16” over from the left side piece and put the next trim piece on (with liquid nails and small actual nails). I repeated this with the right side.

I did a 1.5” gap and then installed the next board, on both sides.

Stephen patched up the shelf’s holes in the meantime, and I used wood putty to cover up all the nail holes. We let everything sit and dry for a day.

After sanding the wood putty, I painted this whole area, including the baseboards, in Sherwin Williams’ Oyster Bay (which is two shades darker than the rest of the walls, which are SW Sea Salt).

I decided I wanted to add a little shelf on top of the horizontal piece. We had a 1×2 piece of wood in our scrap wood pile, so I cut it to 42” in length. I painted it ahead of time, and then liquid nailed it onto the horizontal piece. I used clamps to keep it in place while the glue dried.

Once this dried, I added in the hooks. I found the middle of each wall section and screwed the hooks in.

My husband sanded the wall really well, and I repainted it in SW Sea Salt. I purchased these prints on Amazon to go above. I feel like they tied everything together really well.
Check it out now!!

I can’t tell you how much I love it! It is simple, yet adds a lot of character to our guest bathroom.