
Moving on from parts one and two and three… next were doing the walls for our DIY backyard shed!
Stephen purchased sheets of panel siding for sheds. They come in 4 ft x 8 ft sheets, so he did the math to figure out how much he needed. He accounted for the angled roof and the triangular-shaped pieces that would go underneath it. Also, he was going to use some to make the door (more on that later!) so he had to make sure he got enough. These sheets weren’t that cheap- they ran about $36 each. Definitely the most costly part of the project so far!

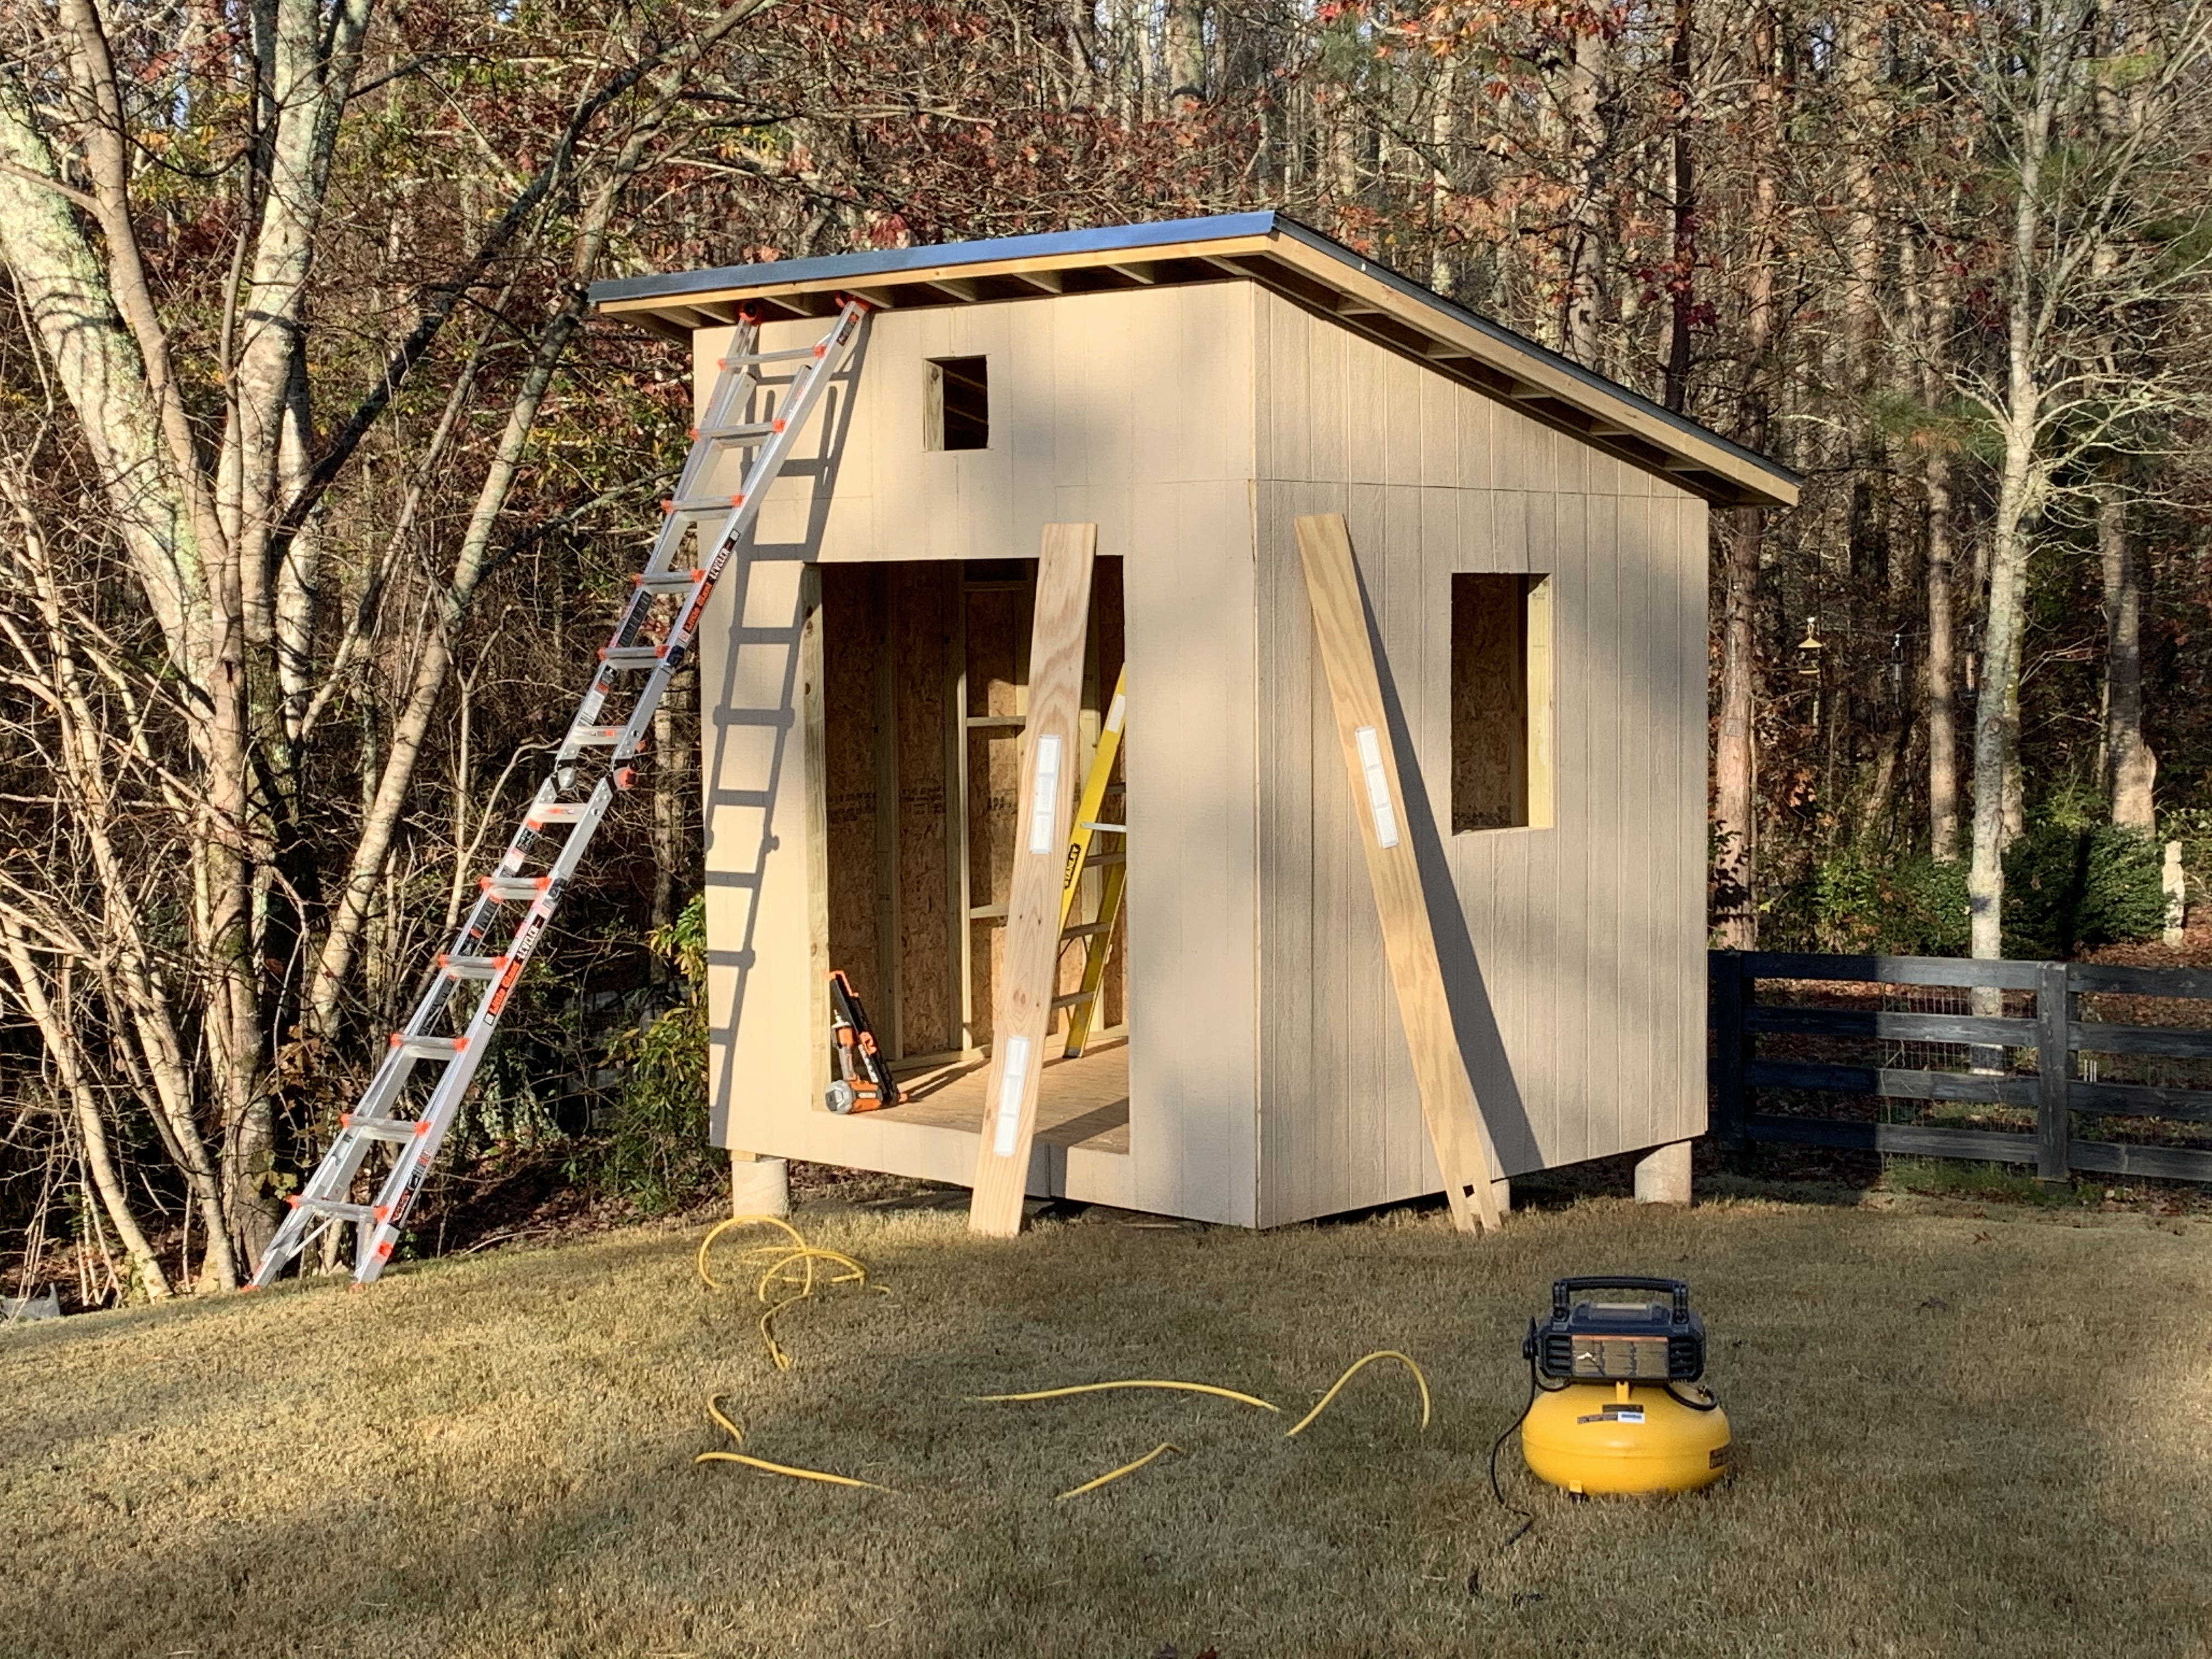
The shed was 8 ft x 8 ft, and was 8 feet tall (at its lowest point), which made his measurements for these 4×8 boards really easy. I would hold the panels up for him while he would nailgun them into the wall posts. He used levels to make sure he was installing them straight- it was a bit of an optical illusion since the shed was on a slant.
The toughest part was measuring/cutting the triangular-section under the roof, cutting the section above and around the door, and knowing exactly where to cut out the window, vents, etc. And, on top of all of that, he had to match up the siding lines to make sure they flowed!
Here’s how it looked!

The next step was caulking in cracks/seams. Most of the seams were going to be covered up by trim, but caulking any gaps now will prevent future problems.
Another plus on adding the walls was that it made that movement of the framing go away! Stephen could take down the diagonal boards he had put into place to keep the shed stable.
Next blog is going the be the LAST one!… building the doors, adding the window, vents, and trim!