
It’s always fun to get something new to hang on your wall, but wall art sure can add up. I’ve made a few signs lately that are simple, easy, and CHEAP! You may have seen the Stay Weird sign and the monogram sign I made, but I wanted to share these other ideas with you, too.
Many signs can be made out of excess wood… that’s what I have used for most of the signs that I’ve made. If you’re ever doing a bigger project, I’d recommend saving those scrap pieces- even if you think there’s no way you’ll use them again! One of my goals will be to find a way for you to use those little pieces! 😉
Another thing about signs. I have a Cricut machine that cuts vinyl and makes it really easy to put wording on signs. However, you don’t need a Cricut to make signs! Stencils are great, hand lettering is always an option, and you can even buy pre-made vinyl stickers to use.
With all of that said, here are some of my sign ideas!
Sign 1:

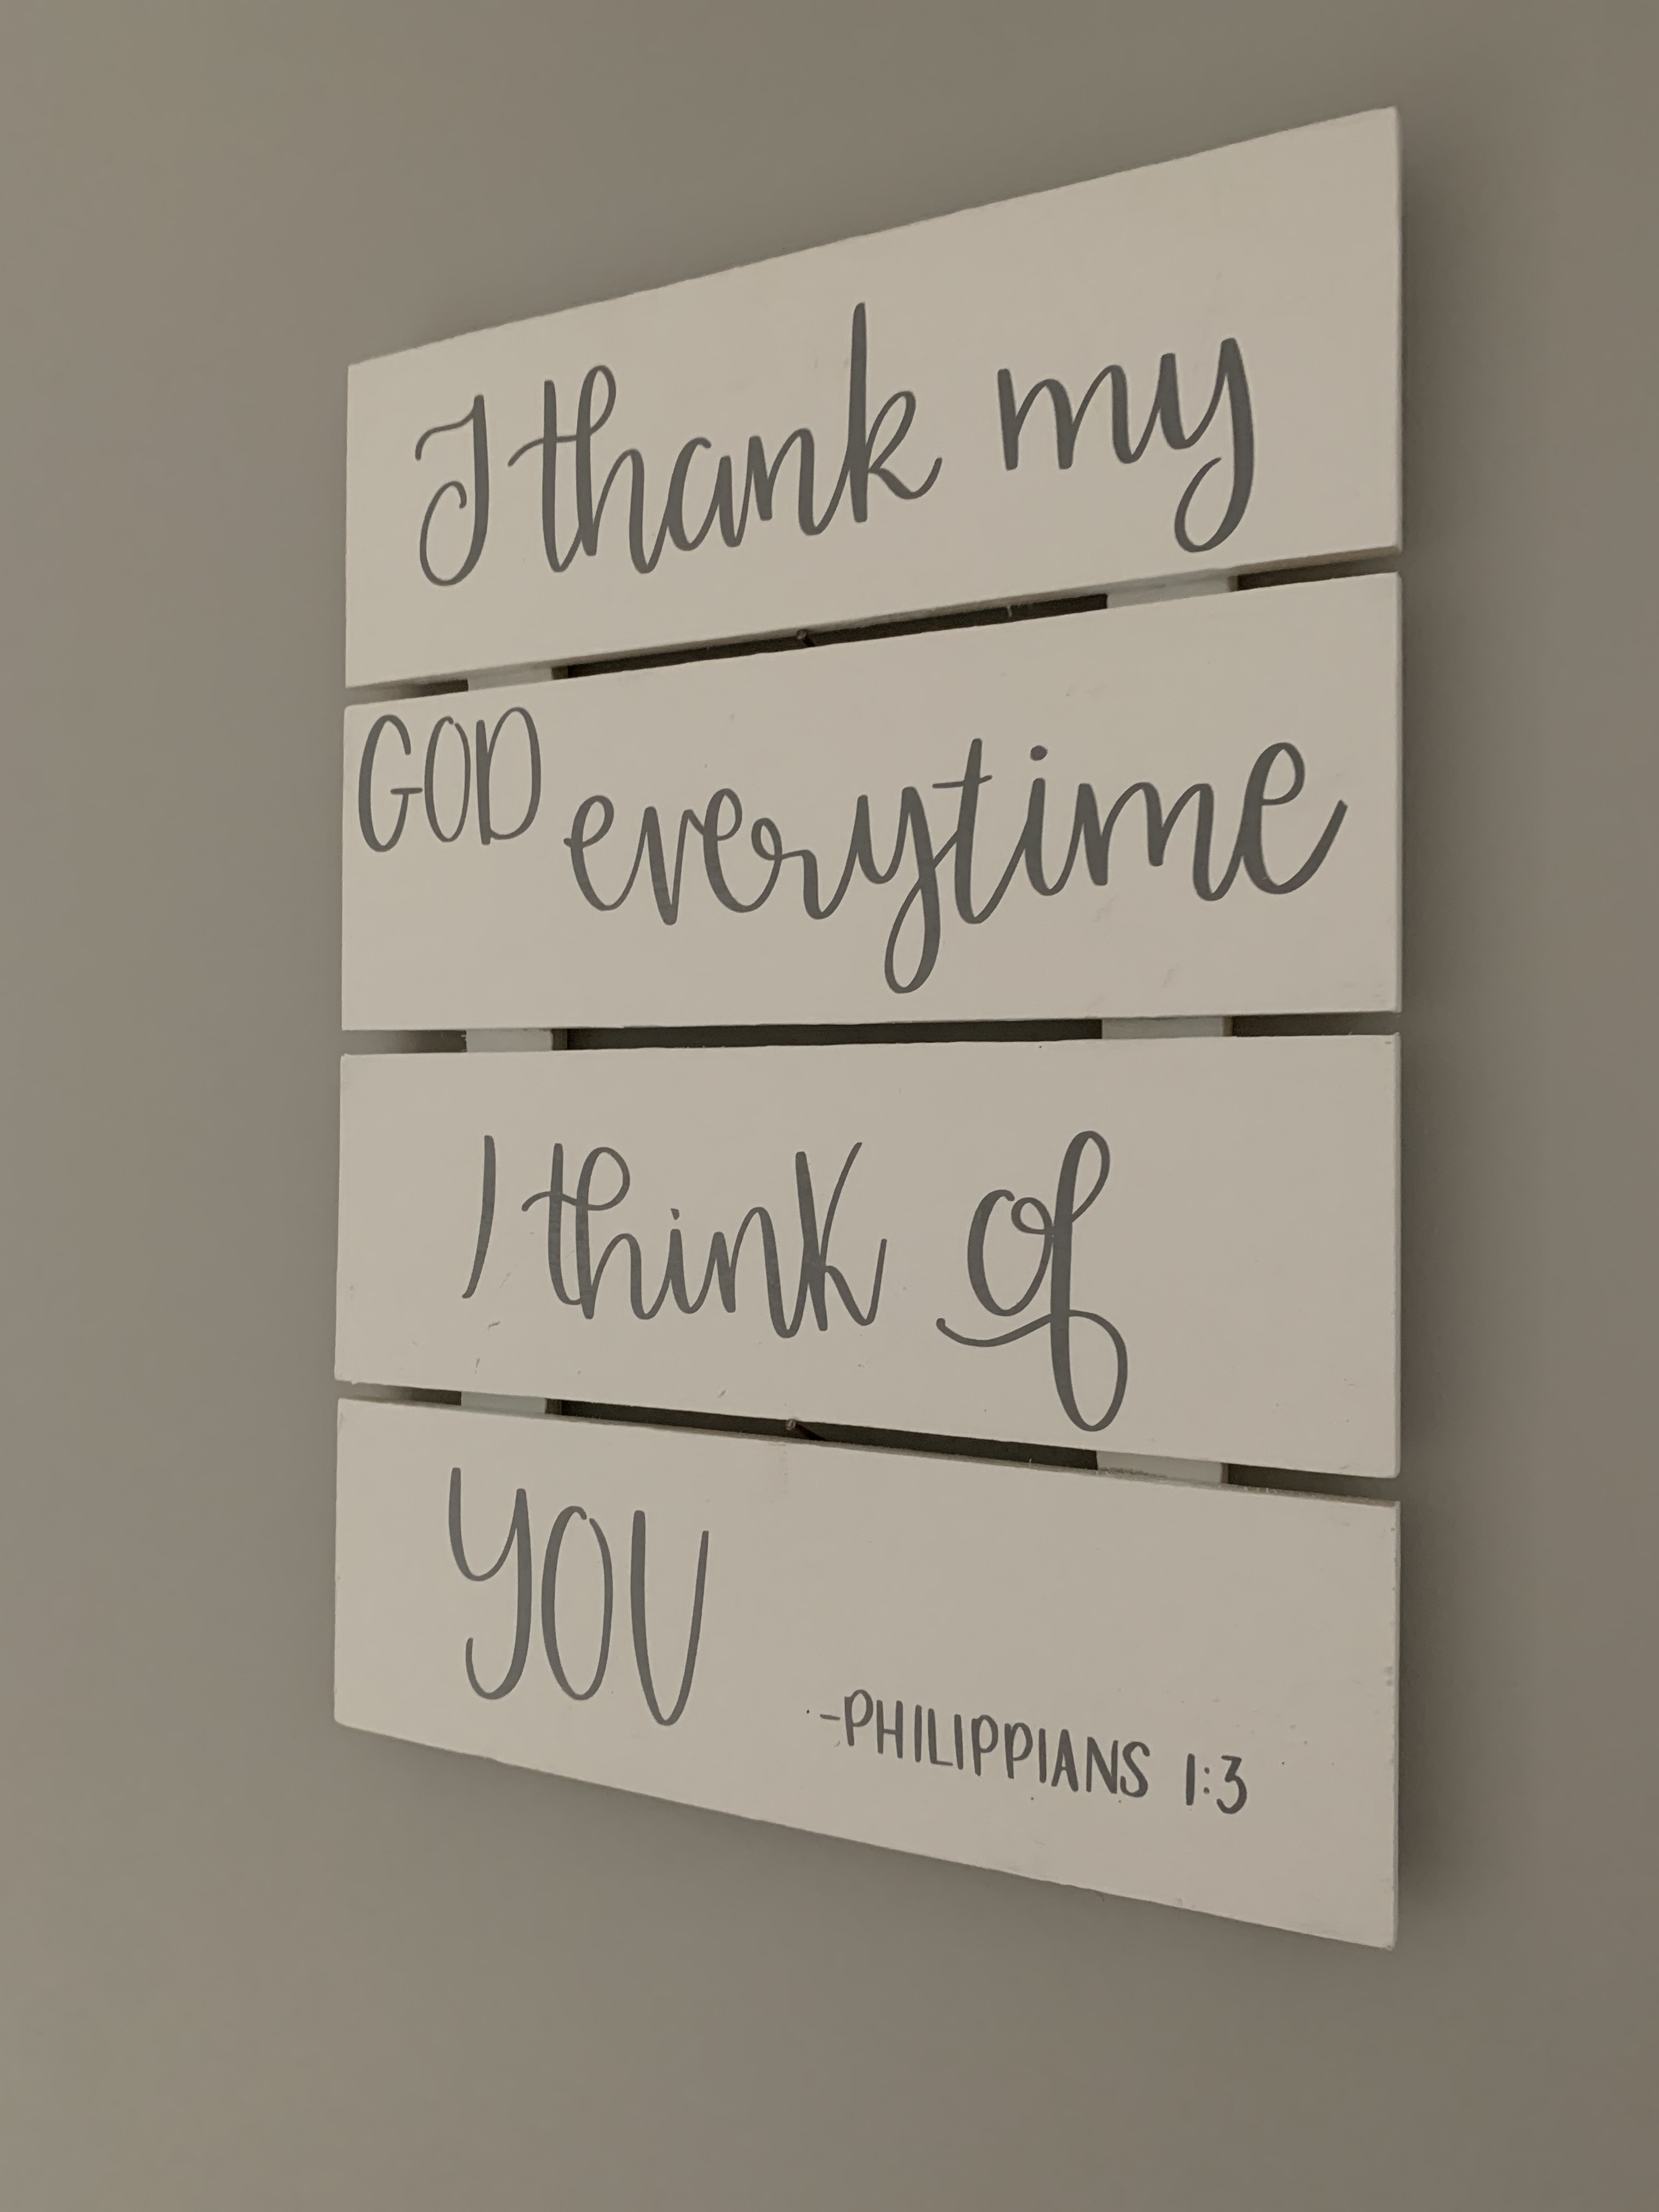
This sign took 4 feet of 1×4 board and 32 inches of thin (about 1.5″ wide) poplar board. I cut the 1×4 into four 12 inch lengths. I cut the poplar board into two 16 inch lengths. I laid the poplar down and wood-glued the 1x4s on top of them into position, then clamped until they were completely dry. No screws were necessary. I painted it white with chalk paint.

I added a picture frame holder, but decided to hang it vertically, and realized I could just use one of the open slats on a nail! This sign measures 12 inches across and 16 inches tall.
Sign 2:

I used some of the extra hardboard from the farmhouse sign for this one. The extra piece measured 14 in. x 14 in. I also used gross-looking extra wood from our board and batten project. Hey, paint can hide a lot of things, right?? 😉

I started off by painting the hardboard with black chalk paint.


I then took the 2 pieces of wood and measured them in half, and drew a line down to mark the middle.

I cut the 2 pieces along this line, so that I’d have 4 total thinner pieces of wood (for the frame). I painted them teal (this is for the farmhouse bedroom!). I then wood-glued them into place around the hardboard.


I cut out a cute saying on the Cricut machine, and applied the vinyl to the black hardboard.


I wood-glued a picture hanger on the back of this since the board is too thin to put nails into… so far, so good (this is a really lightweight sign!).
Sign 3:
My oldest daughter wanted to “design” a sign, so she directed Stephen on how she wanted it to look! He took a 4-foot piece of 1×4 and cut it into three pieces.

He staggered the wood to how she wanted it, and made marks to where the wood pieces should be. He used his Kreg jig and made pocket holes (where he could connect the wood pieces together with pocket-hole screws later). He then wood-glued the edges and clamped the wood together to dry.


Stephen used pocket hole screws to connect the wood pieces together. This makes it so that you can’t see the screws from the front/side!


I painted it white with chalk paint, printed out the verse she wanted on it, and… voila!

Sign 4:
My friend, Amy, (remember her?) was being creative again! How cute is this? She took a stained piece of 1×4 board and cut it into three sections, and attached them together.

She bought the “Go Dawgs” letters, spray-painted them red, and wood-glued them down. She sprayed the whole sign with waterproofing spray.

What a perfect addition to her front door!

Sign 5:
I don’t have pics along the way of this creation, but I did the same process with it that I did with sign #1. I made this wood piece and then screwed in a small basketball hoop to it for my son’s room. I used 1×4 wood that I painted white, and used thinner wood to connect them together on the back (along with using wood glue where the boards connect). Because it is sturdier and able to be hung on an open wall, this was a much better solution for him than an over-the-door hoop!

Sign 6:
Again, I don’t have pics along the way, but I wanted to share these signs I made and painted for my son’s room. I used 1×3 board and cut them and painted/stained them to represent the different sports. I attached twine on the back and hung them. These signs are smaller, measuring about 10″ x 10″, and are very lightweight. This is a super inexpensive way to add character to a room!

There you have it- 6 different types of signs you can make that are personalized and very inexpensive! If you have any spare wood and some paint, you should try one of these out. 🙂