
Hammertime is reader-supported. When you buy through links on our blog, we may earn commissions.
My friend Rose (the half-bath DIYer!) has been looking for a farmhouse dining room table… but couldn’t find exactly what she was looking for- either the size was off, the coloring was wrong, etc. She had asked if Stephen could build a farmhouse dining room table and gave us an idea of what she was wanting. We looked up some table ideas and she found one she liked, and Stephen got to planning/buying/building!
We planned to make the table 78 inches in length, 38.5 inches in width, and 30 inches in height. Stephen got a combination of 4x4s (for the legs); 2x4s (frame); and 2x6s (table top). It was a fairly quick process of building the frame. He did the measurements, made the cuts, and connected the 2x4s to the 4x4s and made the outline of the table.

He put two 2X4s across the width of the table to offer more support. He used pocket holes and pocket hole screws to connect all the wood pieces together. This table isn’t budging!

He then built the top. He used seven 2x6s (which are really 5.5″ in width each, adding up to 38.5″ total). He drilled the pocket holes ahead of time, and laid the wood upside down one piece at a time on the table frame. He would then get the next piece, wood-glue it on the side, line it up perfectly, and he would screw it together with its neighboring board. He repeated this for all seven boards.


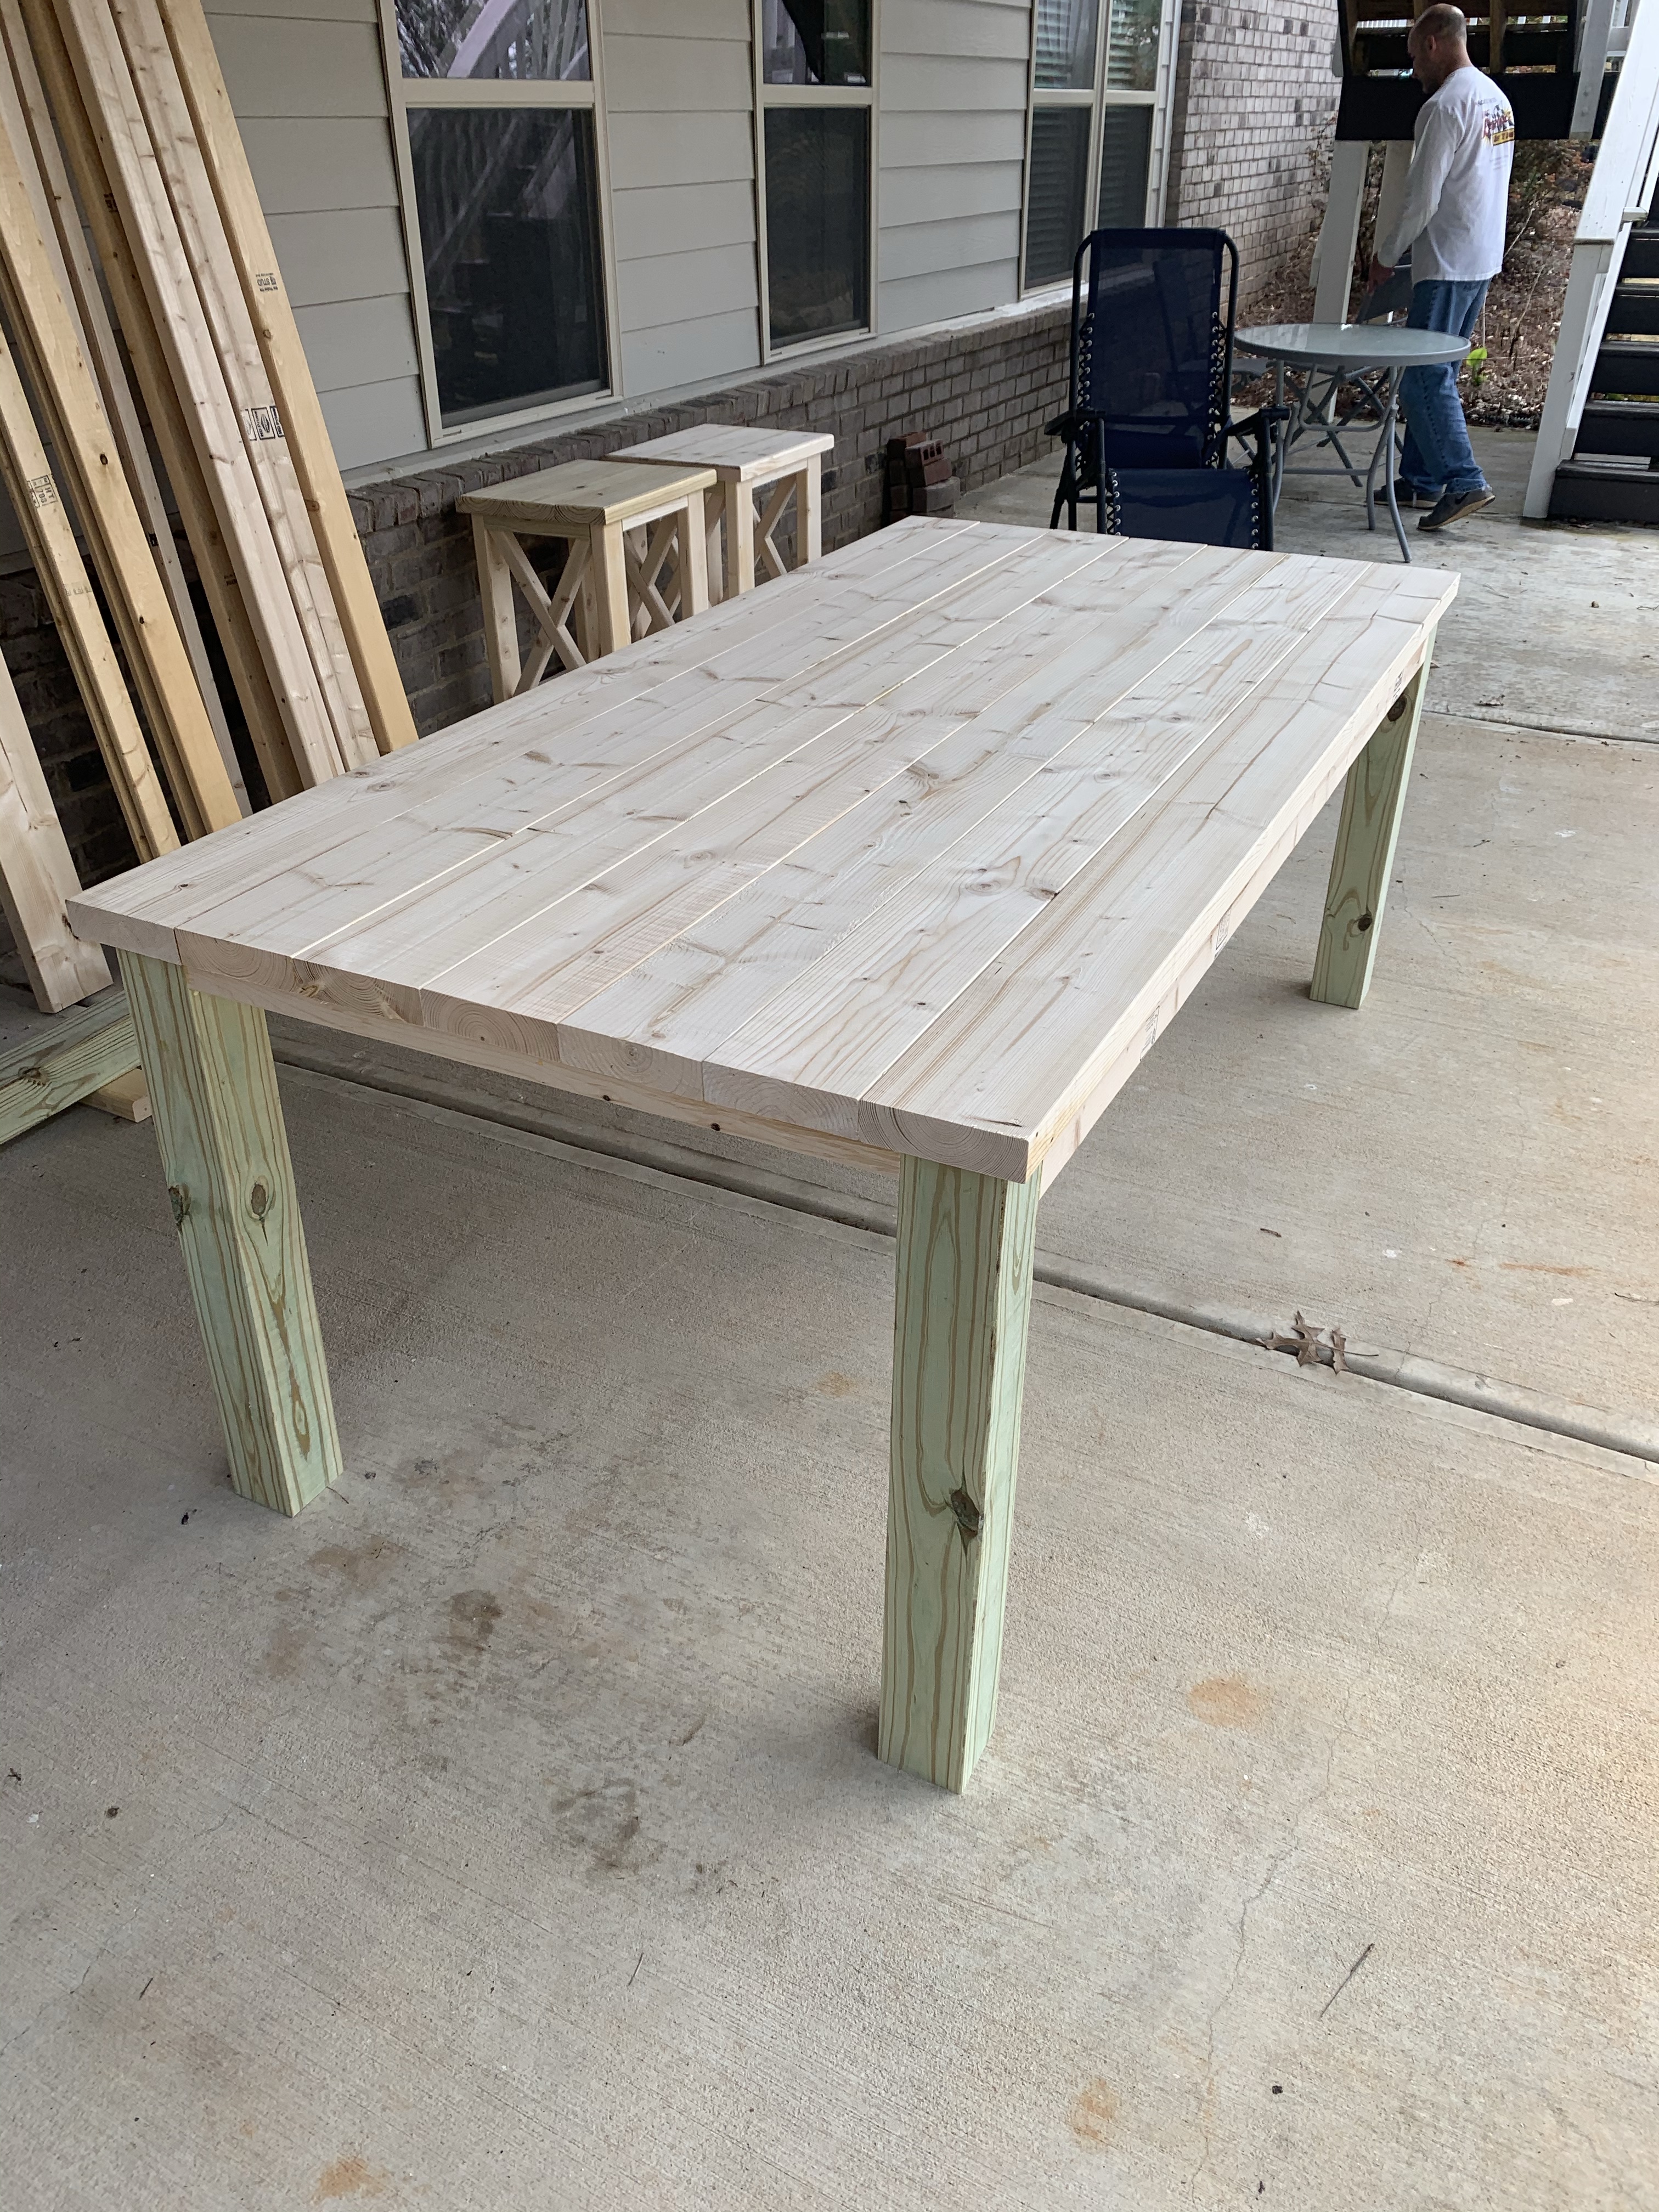
He then sanded the table 4 different times. He started off with lower-grit sandpaper for heavier sanding, and went lighter each round. It feels so smooth now!
Doesn’t it look good?? Obviously, it’s missing a little something… some color! 😉 Stain on pine is very difficult to choose… the color comes out looking very different from what the samples look like, or what the color on the can looks like. However, the stain has officially been picked out for the table top (we’re going to mix two different stains!) and the chalk paint has been picked out for the base, so we will be getting to that soon. Once the table is stained/painted, Stephen will attach the top to the table frame using pocket hole screws (again, that makes it so you can’t see the screwheads from the outside of the table!). I can’t wait to see how it turns out.
Oh, don’t you worry- you’ll be getting an update sometime soon!