
Stephen originally made this slender stool a few months back, but actually changed it up to make it wider and more steady. He ended up adding another whole piece and attaching them together! So, everything he did before, he ended up making the exact piece again.
Here is what he did… just remember do double it!
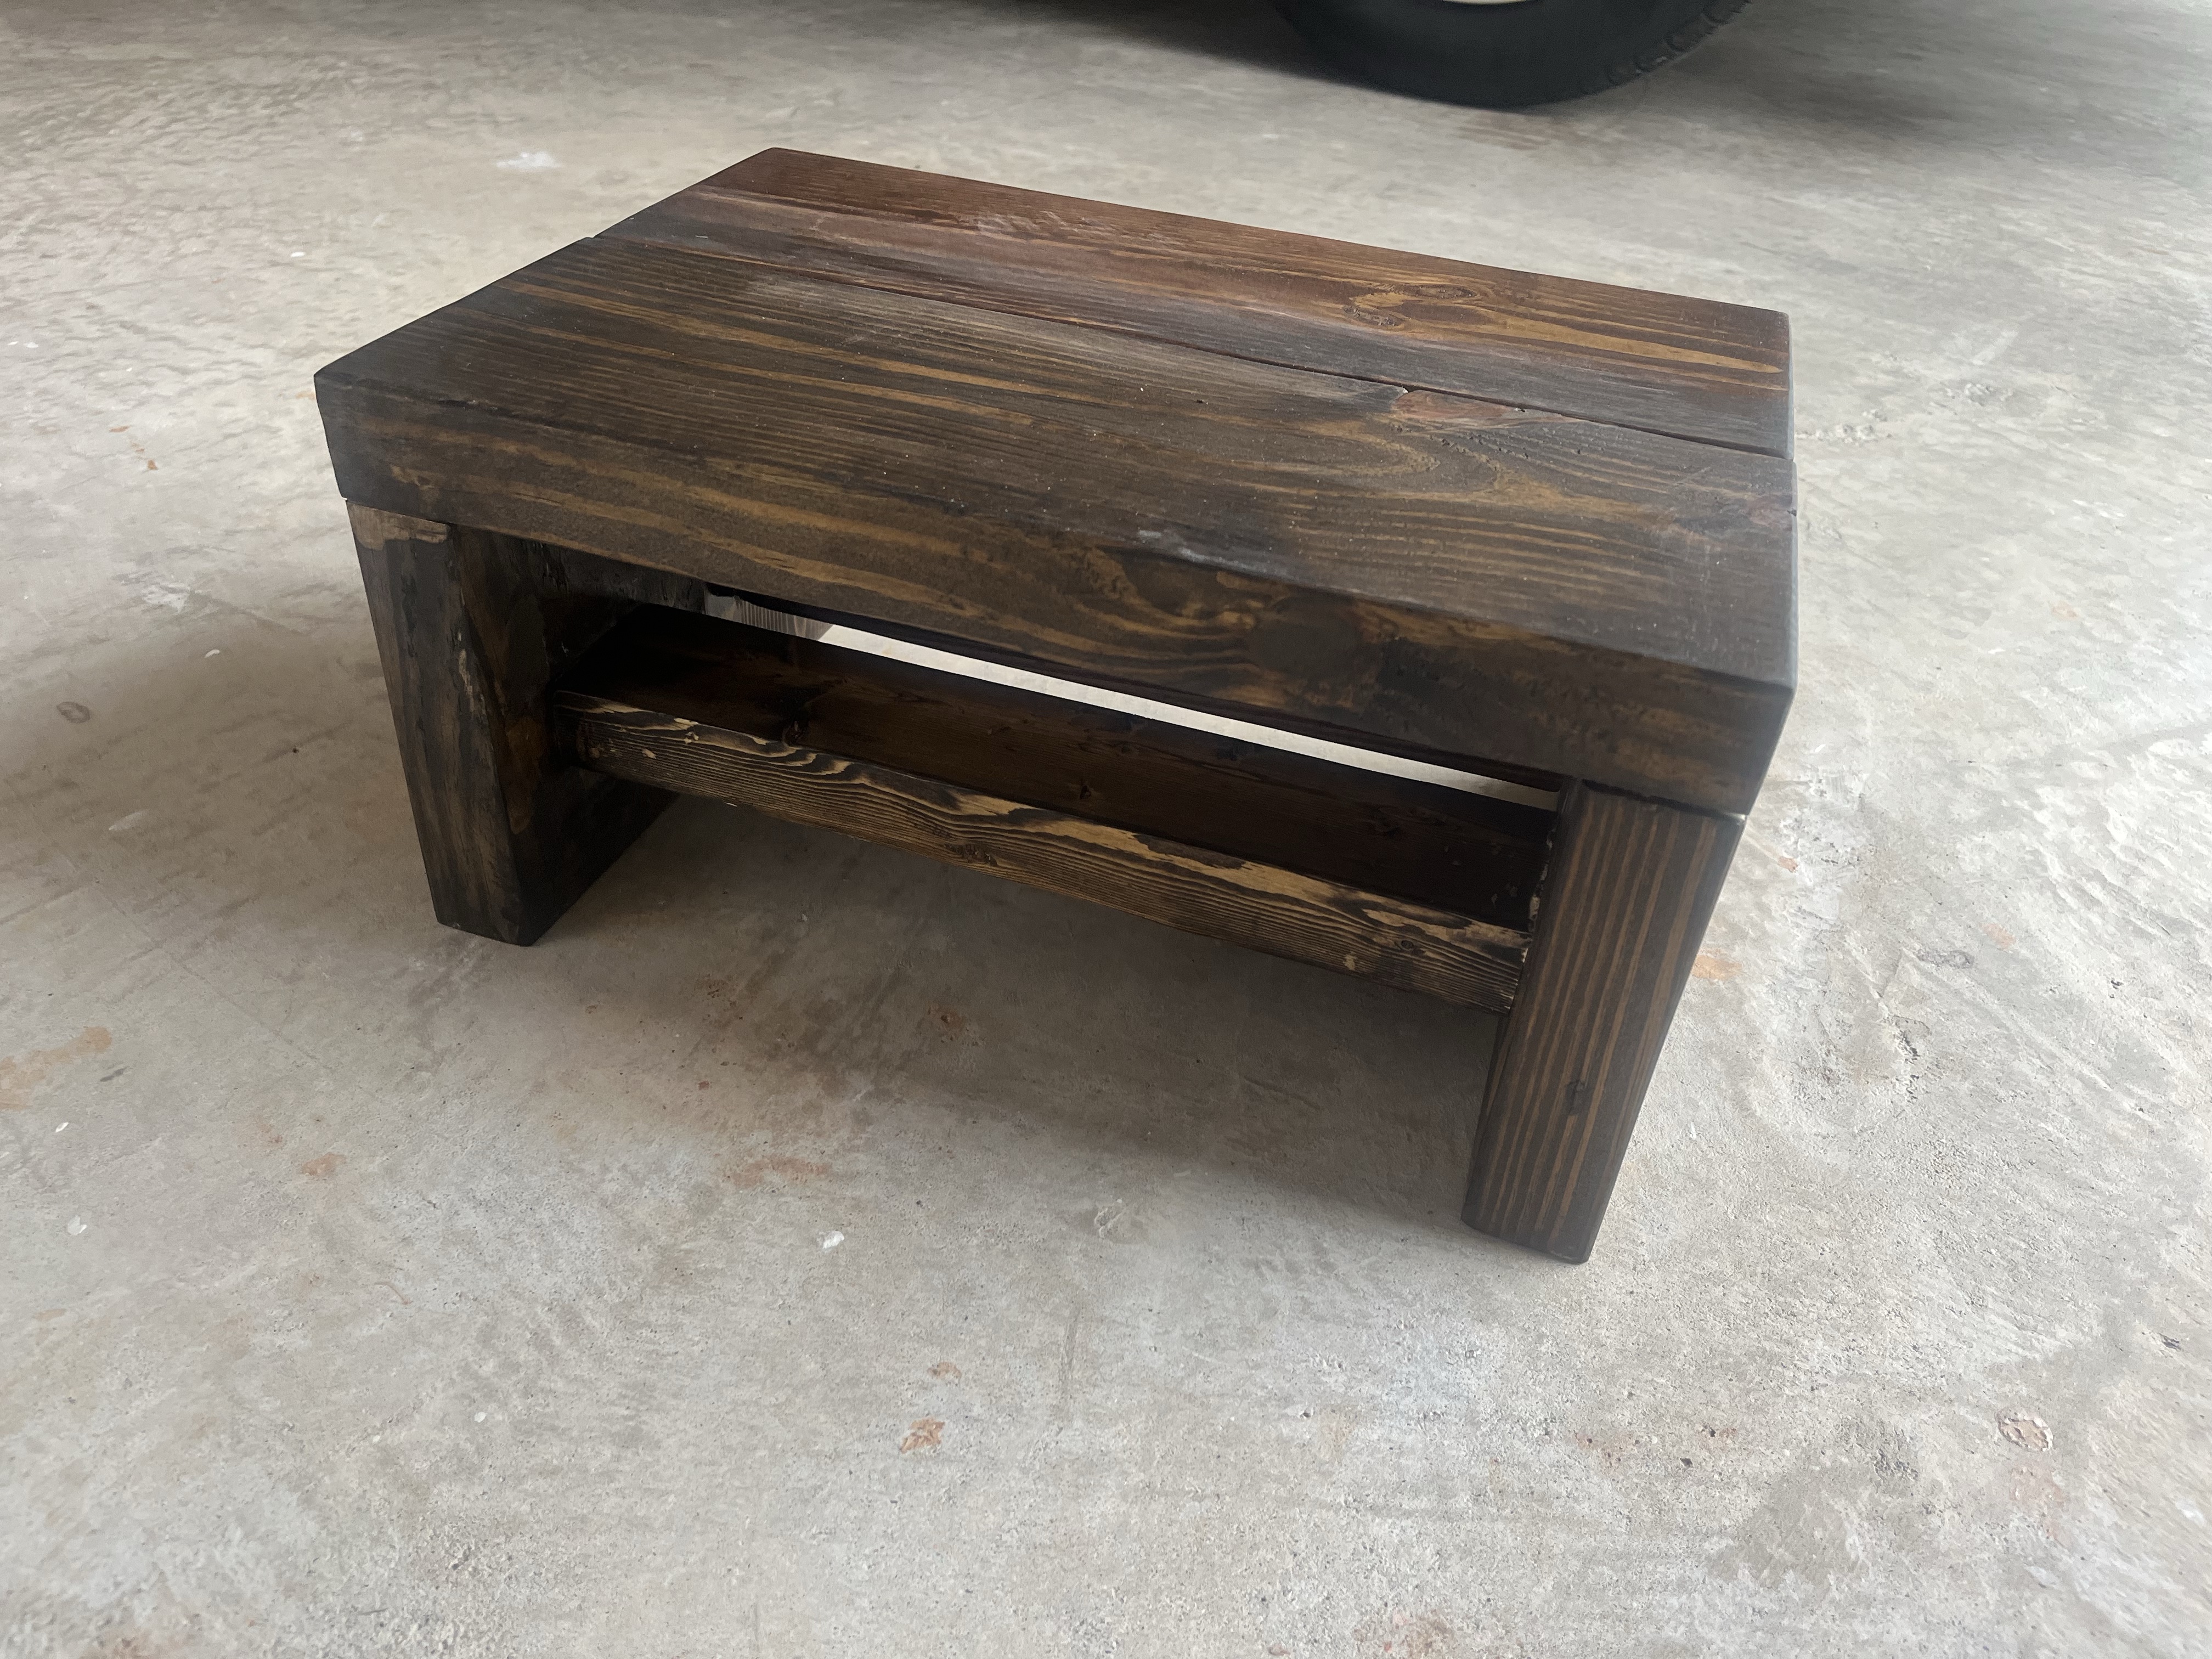
Stephen used 2×6 and 2×4 pieces of wood for this project. He cut one piece of 2×6 to be the length of the stool (in this case, it was about 15″ long). He then cut two pieces of 2×6 wood for the height. He made this stool 8″ high, which includes the 2×6 across the top. The 2×6 is actually 1.5 inches thick, so he made the two side pieces 6.5 inches tall. He cut a 2×4 to the length of the distance between the two stool legs.
Stephen used wood glue along with pocket hole screws. He covered the holes up with wood putty. After sanding the entire stool, this is what it looked like!


When he made the second piece, he wood-glued the two pieces together, and clamped them together until they dried completely. I used a darker stain, and put some poly over the stain to keep the wood protected.

That was it! Now, the stool measures 8″ tall, 15″ long, and 11″ wide. It’s definitely a lot sturdier than before.