
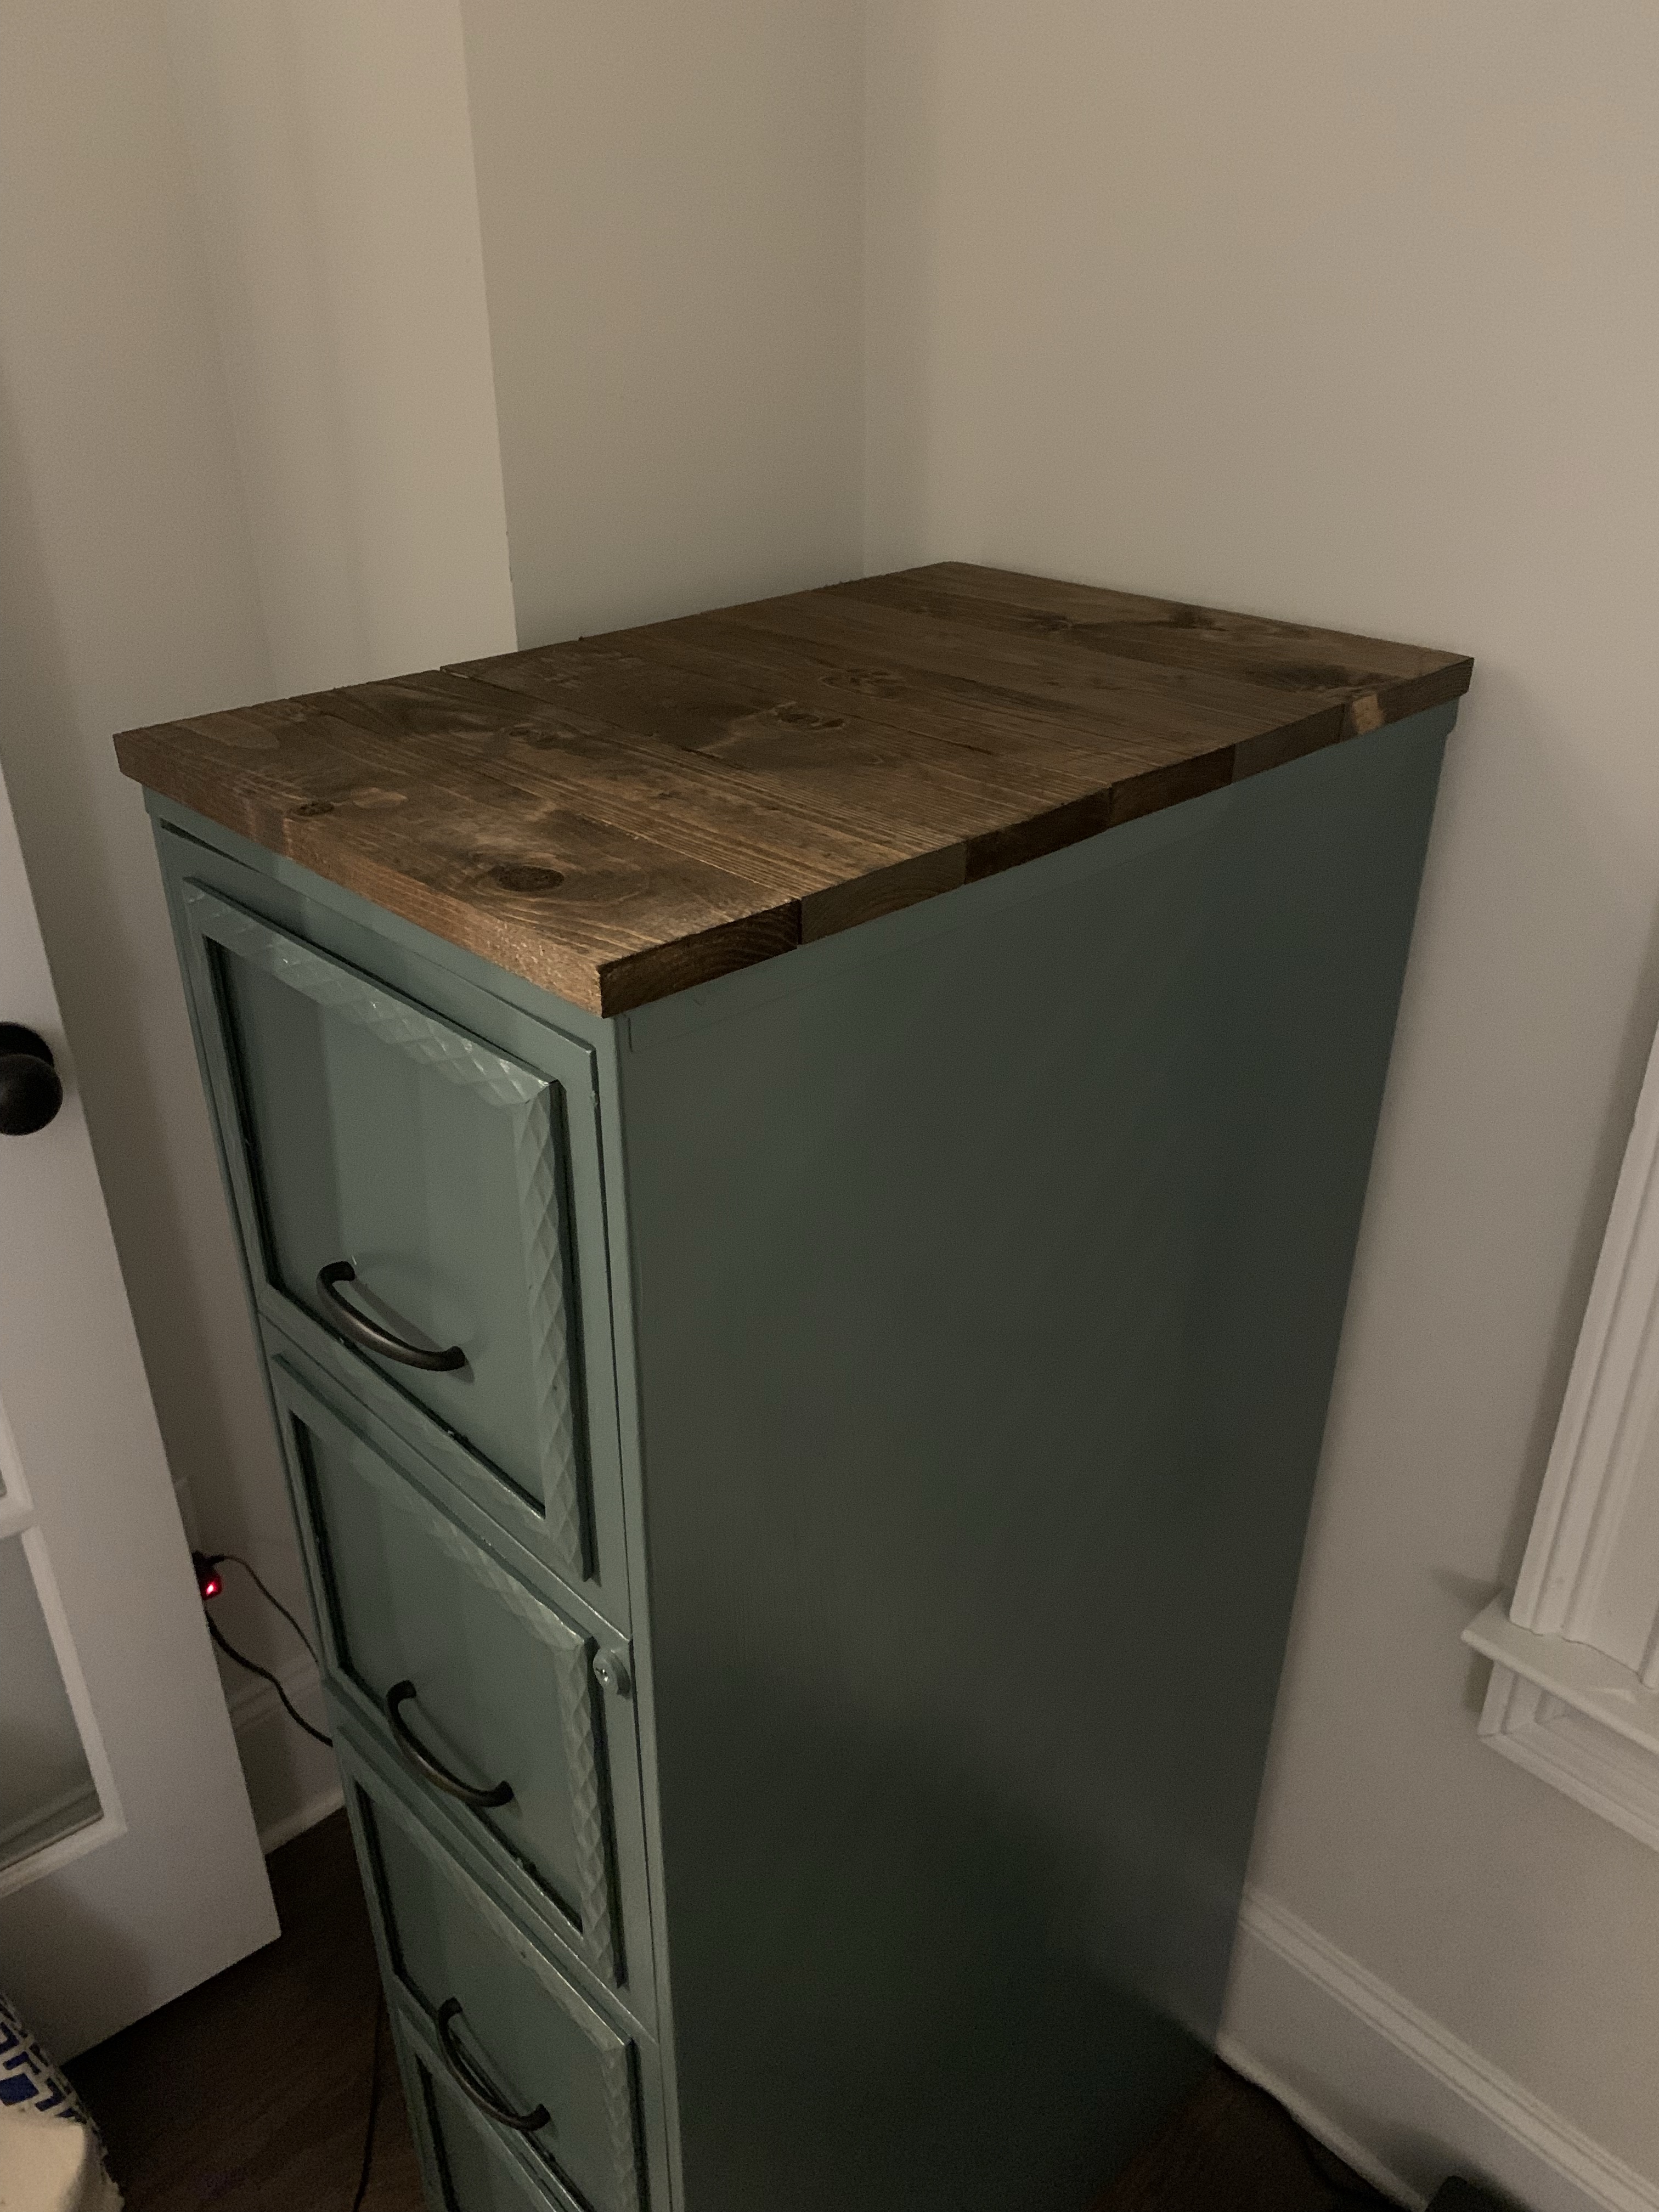
If you remember, I gave our old filing cabinet a makeover a few months ago. After living with it for a bit, I decided to make one more update.
I love the look of wooden slats across the top of things: shelves, benches, tables, and more. So I decided to add pieces of wood across the top!

I measured the top… it was 14.25 inches across, and 22.5 inches from front to back. Since we have so much scrap wood that are in ~15-20” cuts, I decided to have the wood pieces go horizontally. That way, I could utilize the scrap wood and cut them all to be 14.25” across (instead of going vertically and cutting them to 22”).

I stained the tops and edges of the wood using Minwax English Chestnut.


Luckily, the stain dried pretty quickly. I used polyurethane to coat the top for added protection.

I lined them up on the filing cabinet’s top, and used gorilla epoxy glue to glue them onto the top.

I started at the front, glued the first piece down. I then glued the rest, piece by piece, until I reached the back.
Voila!


This was a super easy addition to the filing cabinet! For me, it was made with spare wood, and stain and glue we had already. I love the look!