
My friend, Rose, is at it again! She wanted to re-do the stain color on her kitchen table to match with her dining room table and other pieces of furniture in her house. She kept me updated along the way, and I wanted to share some of her journey with you!
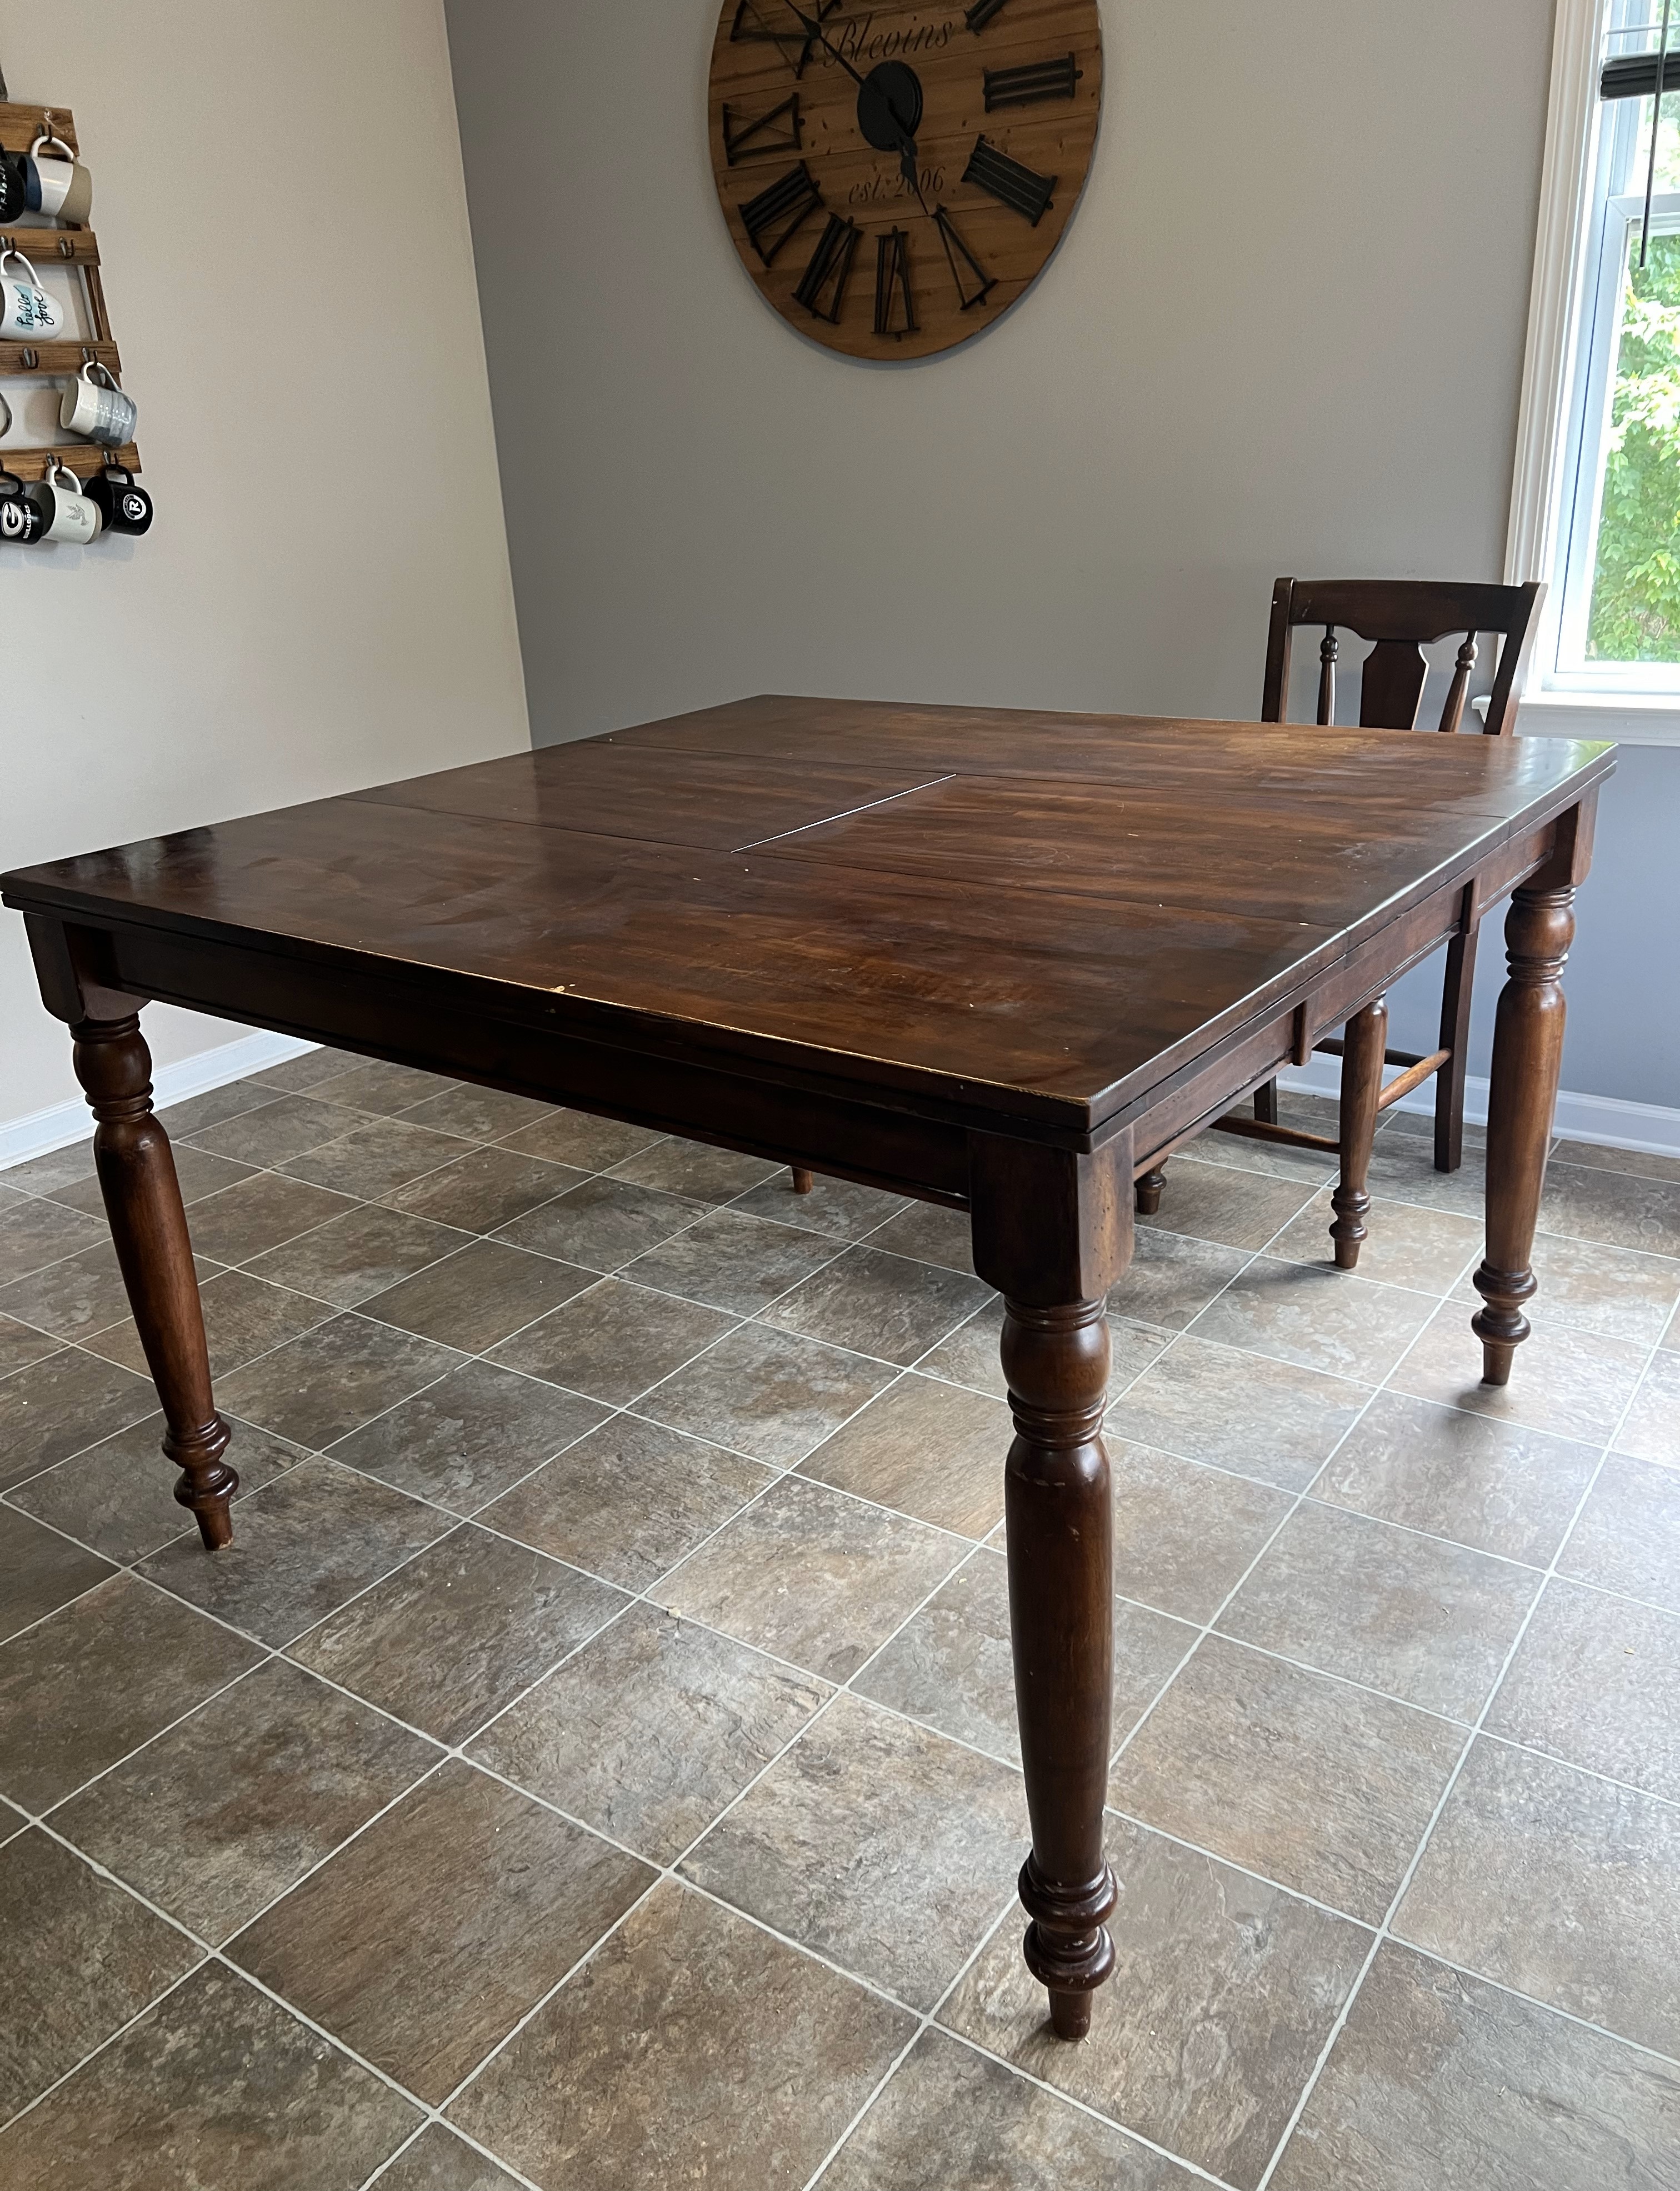
Here is the table before:

Rose and her hubby, Todd, started by taking the original stain off of the top of the table. They used an electric sander and a lower grit sandpaper (tip: the lower the grit, the coarser it is). They made sure they masked up first. 🙂


She said it took several hours to sand the whole table fully, as the top coat was a beast… but they got it done!


They moved the table inside for the painting and staining.

Rose went with “Gunstock” Varathane stain, but it surprisingly came through with a lot of red in it. She let it dry really well to see if the wood would soak in the color more at all, but it unfortunately didn’t.


She also had the stain color “Early American” with polyurethane and tried that on a different panel. This was the color she was going for. See the difference:

So, unfortunately, that middle panel of the table needed to be re-sanded… but she got it done and it was back to how it was before staining!

Staining, take 2… this time, with the Early American color!

Now that the table top is done, she wanted to paint the legs a dark blue/black color. The original color she got ended up being too blue, so the guy at the store added in some black for her, and the shade was perfect!
Lastly, she wanted to re-do the chairs, which were a solid dark brown. The plan was to paint the legs the same color as the table legs, and stain the seats to match the table top. She sanded the seats until all of the original stain was gone, and used the Early American stain on the seats.


They also got new flooring installed, and they moved their island to a different spot! It’s like a whole new kitchen!
Check out the final product:


It’s gorgeous! Rose amazes me with her visions and how she is very patient about making them come true!