
Shiplap is a look that is definitely “in” right now… and I have always loved the look of it. I wanted to shiplap the wall behind our fireplace and have done a lot of research for a while now on the best way to do it. I felt like it either looked too complicated (measuring! cutting! nails!) or too expensive (I’ve seen $150+ per box of pre-made/pre-cut shiplap; multiple boxes needed).

I have to give a shoutout to my friend Rose (heyyyy!)- she had started a DIY on her kitchen island where she added shiplap. She recommended a really cool local store that had peel-and-stick real-wood shiplap. I ventured there the other day to see what they had, and got shiplap for $21 a box!! I got 4 boxes (and prayed that would be enough… I hadn’t measured anything) and got to work.

The store didn’t have white, just gray and brown… so I grabbed the gray (and I accidentally picked up a random brown box)- but knew I would paint them white, so it was okay. Instead of painting the boards ahead of time, I decided to go ahead and hang the shiplap first, then go back and paint later. Since these boards were made to butt up right against each other, Rose taught me about using a penny to space the boards evenly.


I put as many full pieces that I could, and measured the shorter areas and cut the boards accordingly.


I finished the wood! It was peel and stick and super easy to do. This whole process probably took about 3 hours.

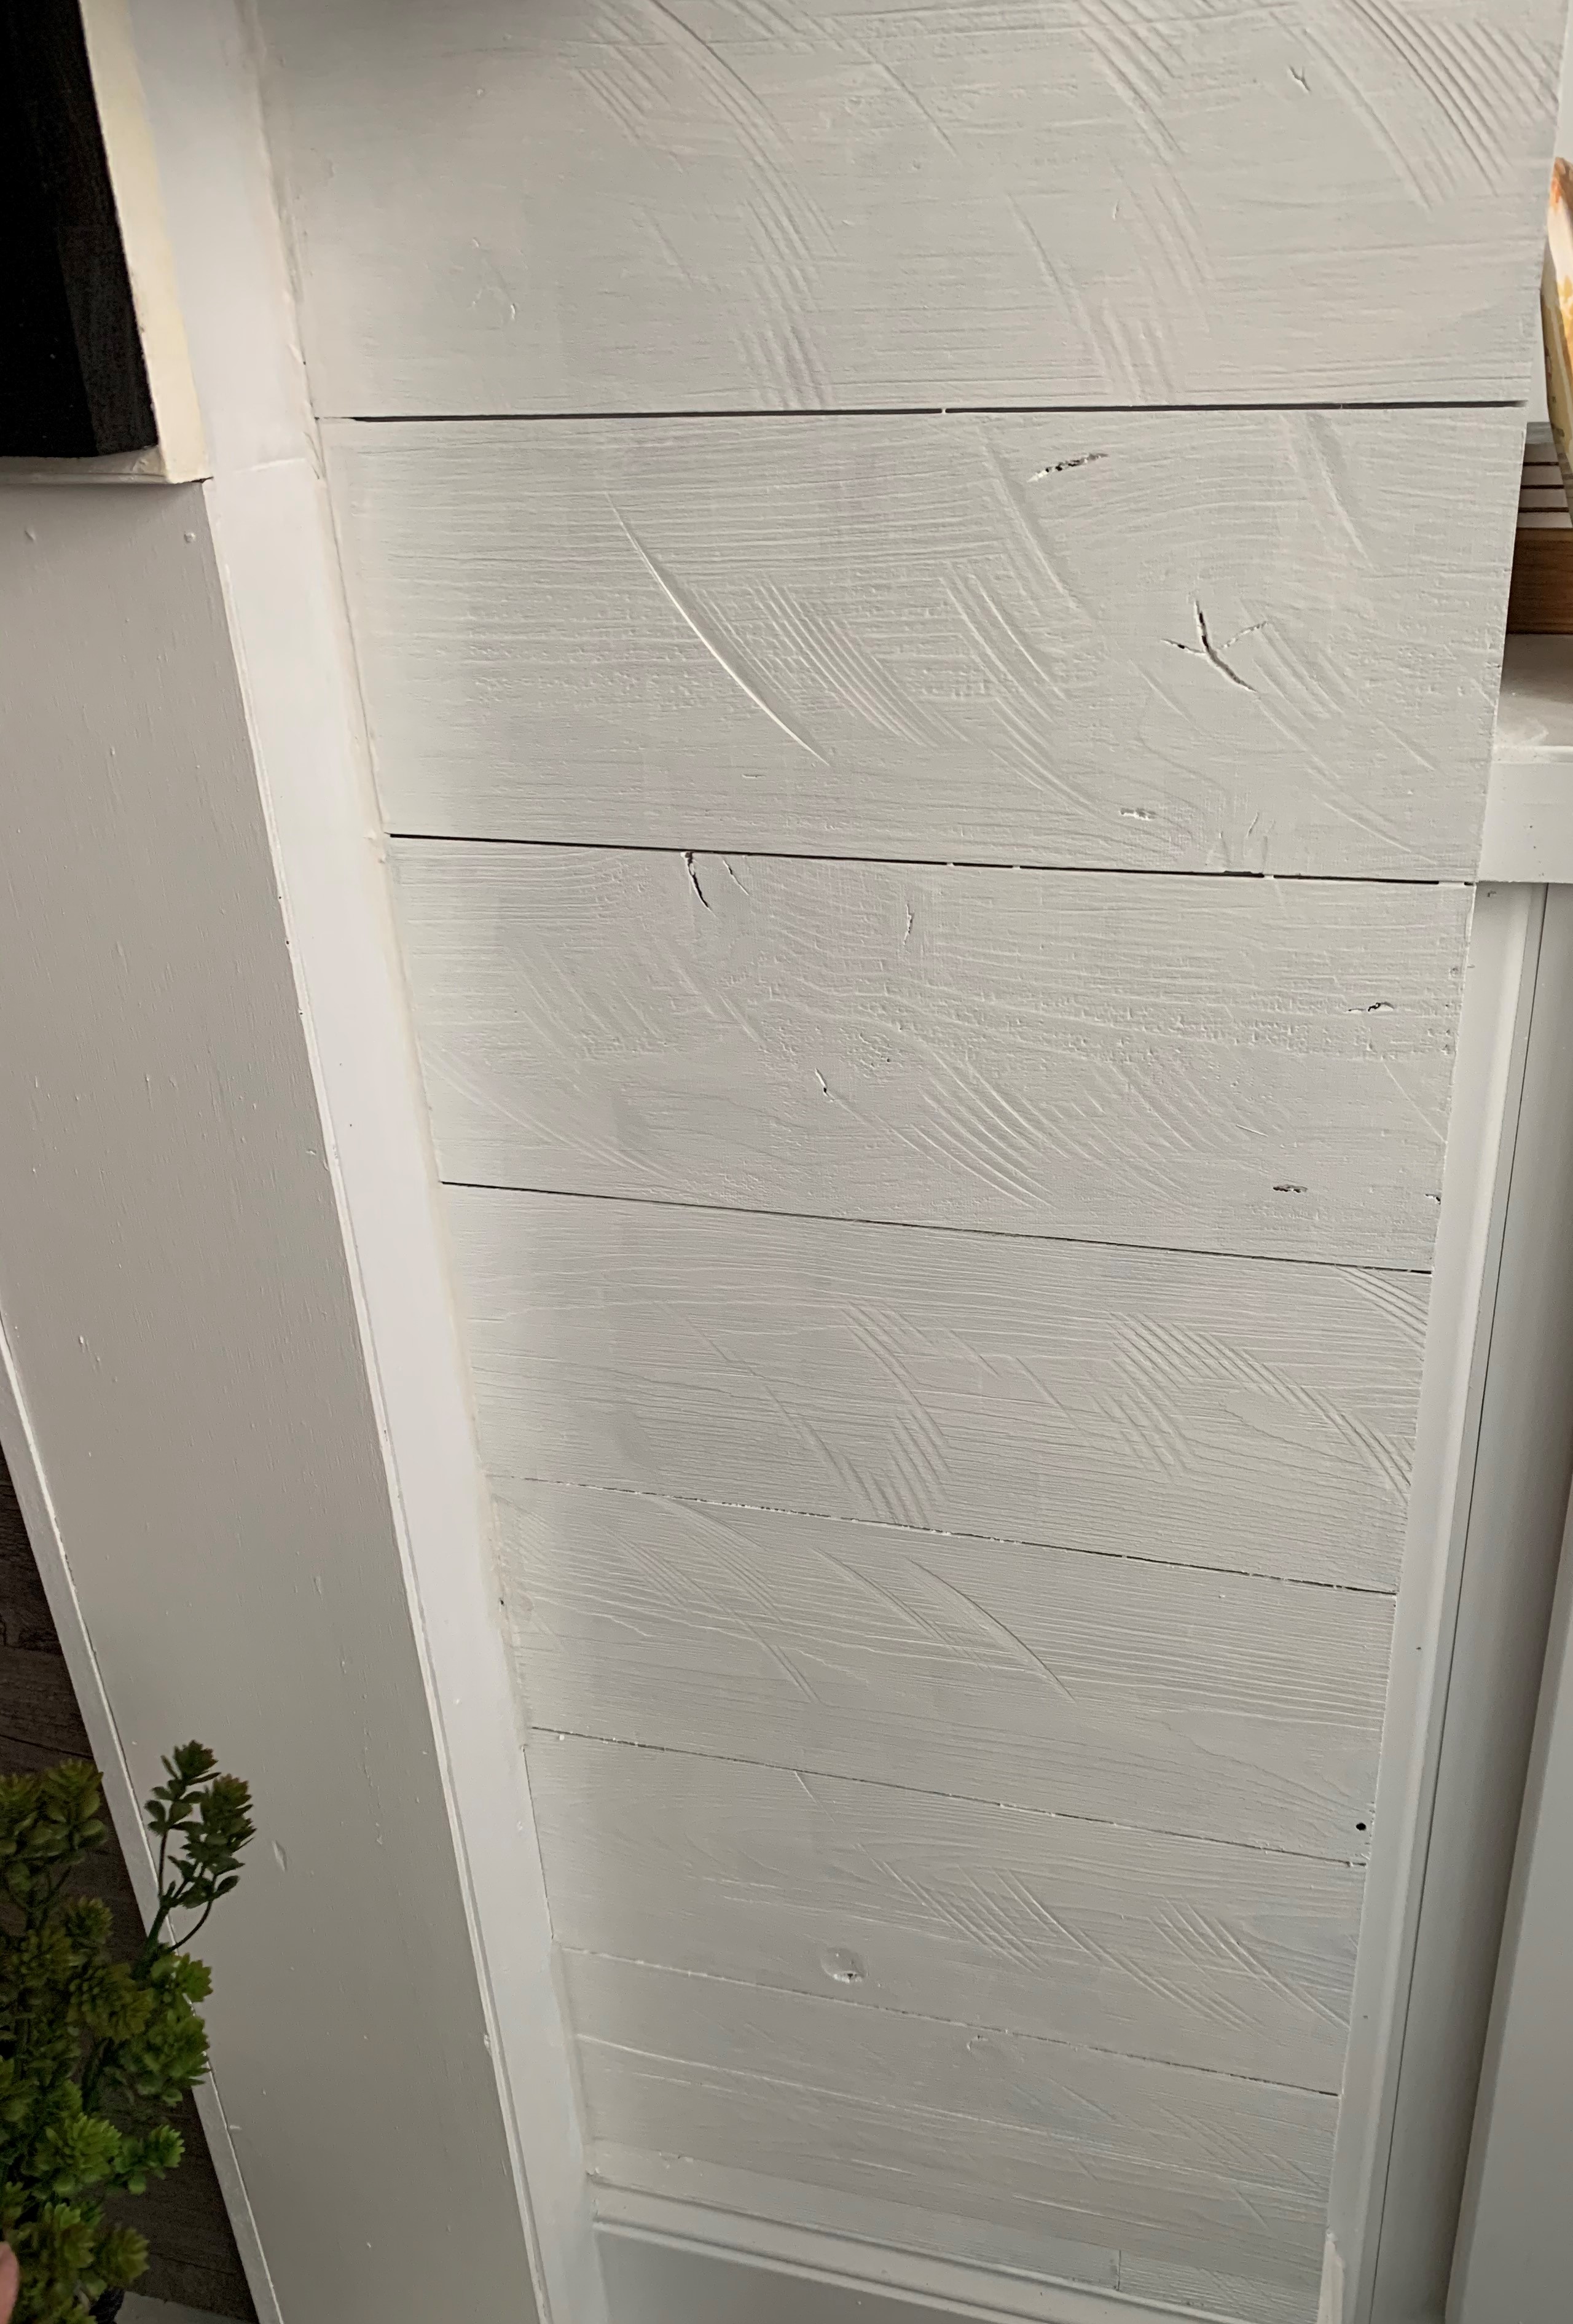
Next, I started painting. I used white, semi-gloss trim paint. I planned to paint one coat on it all before caulking. I wanted the shiplap to have a continuous look to it, so I was planning on caulking between the boards where they meet horizontally.
Here’s a little before/mid/after painting:


Before caulking:

After caulking:

Now, the finished product:

I LOVE IT!! It added an extra something that I felt was missing. This was a complete “on a whim” project that didn’t take all that long and was super easy to do! All for $84 (and I have about half a box of shiplap leftover). And no nails!

